On most of the 3D cards I make, when I cut out a layer, I leave everything that will be visible in that layer as well as anything that will be in a further-forward layer. For examples of this, you can check out the first couple of walkthroughs I did—on both the Craw Wurm and Teferi, Mage of Zhalfir, there was redundant cardboard behind many of the layers. Other cards have art that looks better with less redundancy, or in some cases have art where redundancy would interfere with assembling the layers. That was the case with the 3D Warp World I made:

Because of the perspective of the piece, I needed to slant many of the layers. The way that the buildings stack up on each other forced me to cut most buildings in their own layers, with no other part of the art left in the frame. Doing otherwise would have made assembling the layers impossible; they would not have fit together in that way.
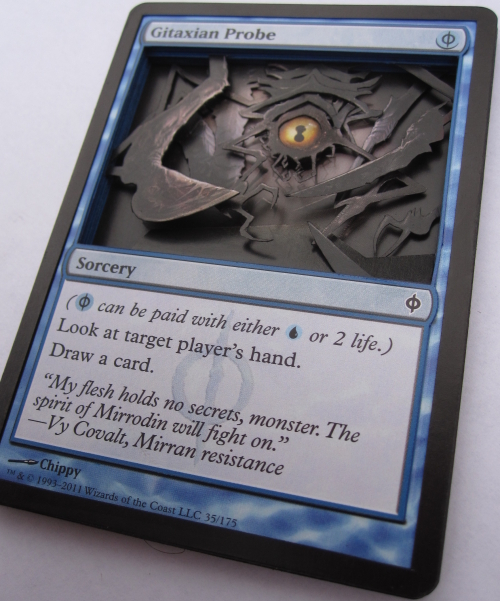
The Gitaxian Probe that I’m working on today is not nearly as complicated as the Warp World, but it does have some of the characteristics that lead me away from redundancy. The arms and the blades reach out toward the viewer while the table leans away, so I’ll want to do lots of bending and slanting. There are lots of small, thin pieces, so redundancy will be potentially more distracting. Like the Teysa, Orzhov Scion I cut up last time, it has very dark art, but once again I luck out and find a higher-resolution image that I can manipulate and refer to as I cut.
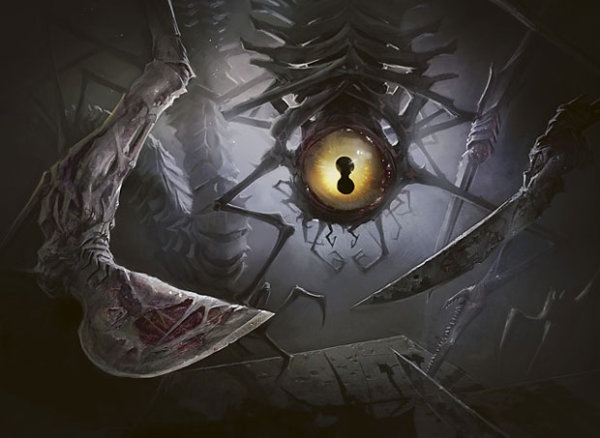
It’s pretty clear that the hardest part of this card is going to be the main part of the creature in the center, so I decide to start with that. Before I do, though, a quick aside:
Shortly after the release of Rise of the Eldrazi, I made a 3D Drana, Kalastria Bloodchief. It was the first card I had done since Karona, False God that had very little going on in the art besides the main character. Pieces like this art often harder to make 3D because there isn’t much layering involved, so more detail work is needed to bring out the 3D effect.

I was and still am quite happy with how this card turned out. However, in an attempt to add more detail, I ended up with an awkward crease across her midsection under her breasts. I’ve since figured out how I could have done that detail without causing the crease—and it turns out that Gitaxian Probe is a perfect opportunity to use that technique. Instead of rounding breasts, I’ll be rounding the creature’s eyeball so we’re not looking at a flat eye.
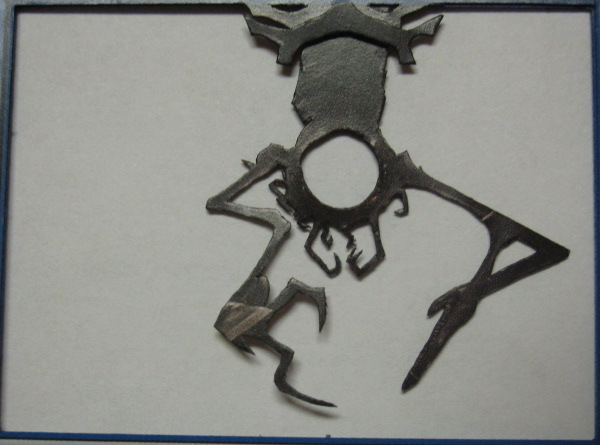
To start out the main part of the creature, I first cut a base piece around which I will build all of the other pieces. When I first cut it, it has more parts still connected, but eventually I trim it down to this:

The hole in the center is because I’m going to have the rounded eyeball be “in” the socket, sticking out past the edge slightly. To do that, I’m going to need my eyeball piece to be as close to the front of the “socket” as possible, so I shave the back down thin. You can see in the rear view that the area around the hole has been thinned down by removing part of the back of the card. I’ll refer to this piece as the “base layer.”
Next, I cut an eyeball. The piece is bigger than just the visible eyeball; since it will be sticking out from inside the socket, it needs edges to attach to the part that I just shaved thin. Then I remove the blade from one of my larger X-Acto knives, close it tight, and use the rounded edge to make the eyeball round.

With the eyeball complete, I move on to the spines of the creature. I cut out multiple pieces, one for each section of spine. Each piece has a bit more than will be visible; these parts will be tucked under the spine segments in front of them or behind the stalk itself.

The pieces are numbered from the top of the spine to the bottom. If you look at the art, there are actually five spine segments. The topmost piece I decide to put in a layer by itself, attach it to the base layer, and then attach the rest of the spine segments one at a time. Here it is with #1 attached:
After attaching the rest of the spine pieces and inserting the eyeball, the creature looks like this:
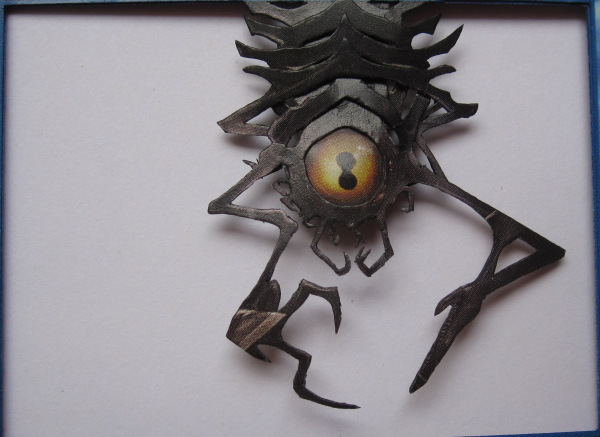
Sadly, the pictures aren’t able to capture the roundness of the eyeball, but it is definitely a positive addition. In that picture, the spines are all still straight across, but eventually I decide that they should be curved back to give the core of the spine/body a more rounded look.
Here’s what the creature looks like from behind. In this picture, you can see how the parts of the spine overlap:

With the most difficult part of the card finished, it’s time to move on to the other elements. First, a few basic layers:
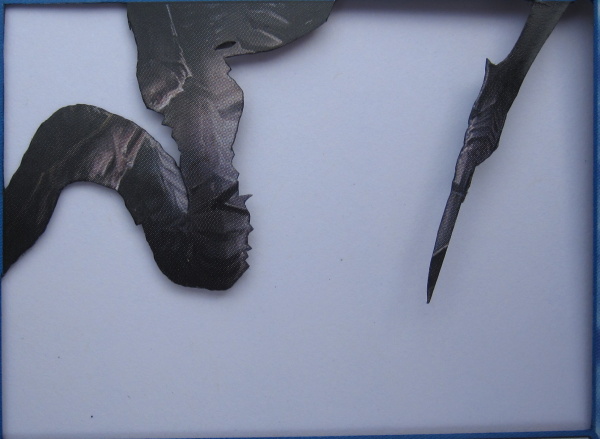
It’s hard to see in that straight-on shot, but the “tubes” are curved and the blade is sticking forward.

Both of the blades in that picture will be bent forward, and I’ll swap out the piece that arrow is pointing to for a more well-cut arm, locating the new arm one layer back.
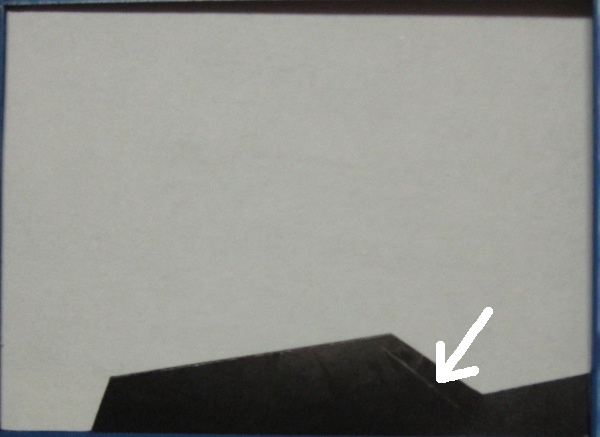
The table in this layer as well as the previous one will be bent back significantly to make them seem more horizontal. The final layer of art I cut has just the furthest-forward blade (the one being pointed to in that last picture).
With all of the layers cut, there are just a couple more details to add:

Piece #2 is the twisted arm pieces in the background of the left side of the card. Piece #1 is the claw on the lower right of the card’s art. It could have had its own layer or been part of another layer, but instead I’m going to add it in as a piece. To do that, I’ll glue it to the card below where I want it to stick out, then cut a notch in the side of the card above it to fit the blue part where it attaches to the border.

In this case, it turns out that the layer I’m inserting the claw in is the base layer of the creature. If I’d known this is where I’d end up putting it, I would have had it be part of that layer from the start. Once I glue the layers around it together, I bend it forward very hard—harder than any of the other pieces, in fact.
I decide to do the borders similar to how I did them on Teferi. Instead of raising up the info boxes and sinking back the text box like I did with Teysa, I use the larger frame pictured below with the thin blue frame also raised.

The finished stack is like this:
| Bottom Layer: | Untouched Gitaxian Probe |
| Layer 2: | Spacer 1 |
| Layer 3: | Gitaxian Probe: “tube” and blade |
| Layer 4: | Gitaxian Probe: creature base layer |
| Layer 5: | Gitaxian Probe: creature spine layer |
| Layer 6: | Spacer 2 |
| Layer 7: | Spacer 3 |
| Layer 8: | Spacer 4 |
| Layer 9: | Gitaxian Probe: blades layer |
| Layer 10: | Spacer 5 |
| Layer 11: | Spacer 6 |
| Layer 12: | Gitaxian Probe: table |
| Layer 13: | Gitaxian Probe: knife |
| Layer 14: | Info boxes and black border raised |
Because so many of the elements are bent forward, it’s possible to have layers right next to each other but seem far apart (like Layers 3 and 4, for example).

In this last one, you can get a slight sense of the curve of the eyeball:

Because I was working with a common, I was less careful about some of the cuts I made, since I didn’t mind using a couple of extra copies. Next time, I’ll be returning to Legendary creatures, so I’ll have to tighten up! I’ll also be ending that column with a poll for which often-hated Commander I should cut up a stack of—so if you’ve got a Commander you dislike and think should have fewer copies in the world, let me know in the comments or by e-mail/Twitter!
Drew Sitte
AlteredCity at gmail dot com
@AlteredCity on Twitter