What, exactly, is the deal with Sliver Overlord?
Sliver Queen has a look that hints at her connection to the swarm without making her look like just another one-armed snake. Sliver Legion is just that: a huge group of slivers. But Sliver Overlord? It looks like they just magically fused a bunch of regular slivers together and called it a day.
It turns out, that's exactly what happened.
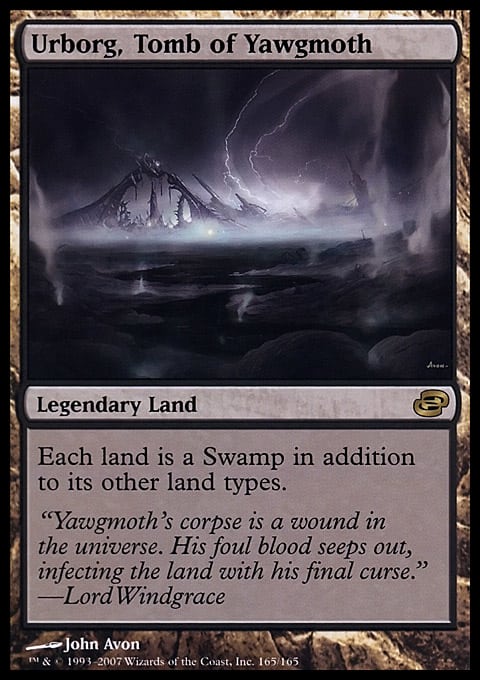
At the end of the Weatherlight Saga, all of the remaining slivers wound up buried under the volcano at Urborg (along with the rest of the contents of Volrath's stronghold, including Yawgmoth.)
 |  |  |
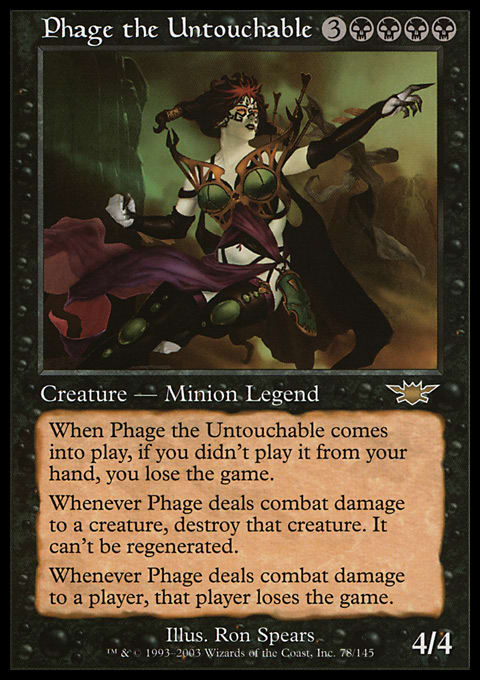
It was the Riptide Project, founded by Empress Llawan, that eventually uncovered the remains and used them to create a new breed of slivers. Without a queen, these new slivers were lost and confused. Mistaking the pulse of the Mirari for the call of their progenitor, they escaped and swarmed toward the battlefield where Phage and Akroma fought.
 | 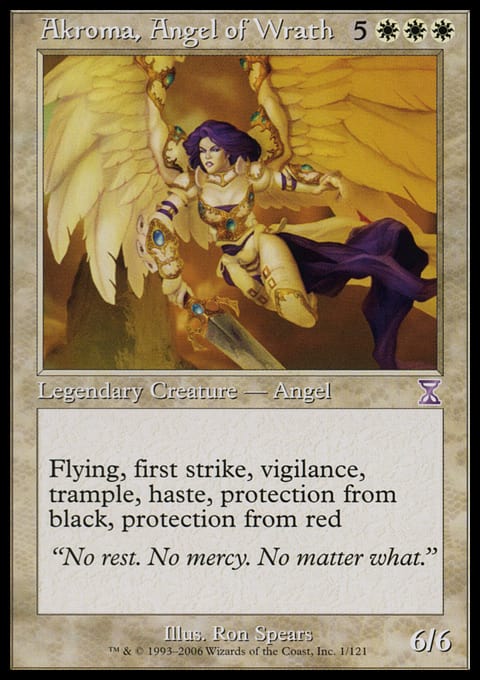 | 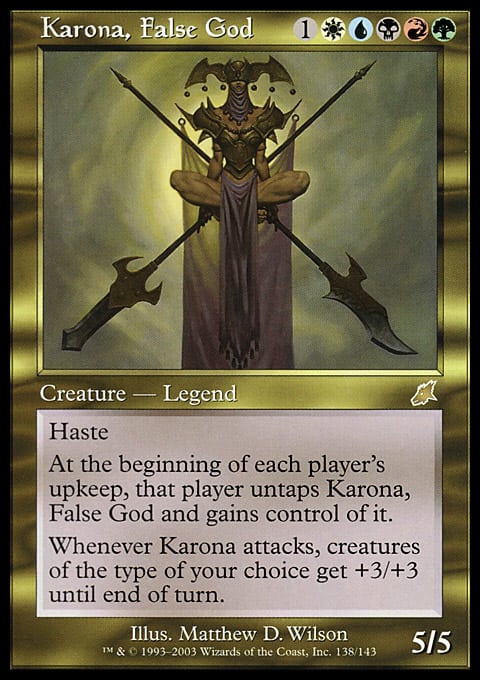 |
The explosive, magical event that created Karona also fused many of the slivers together into the Sliver Overlord.
Despite not knowing this story until recently, I've wanted to make a 3D Sliver Overlord for a long time. I had a bunch of copies sitting in my binder for years, and the return of Slivers in Magic 2014 Core Set meant it was finally time to turn those two play sets into a single Commander play set. The Altered Reality Challenge lit the fire even stronger—if you haven’t seen the results of the Sliver-altering challenge, go there now!
What Took Me So Long?
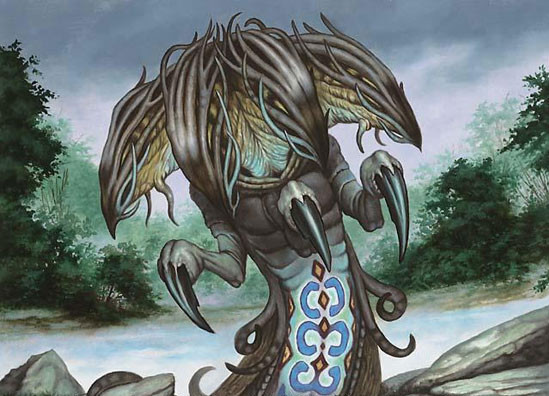
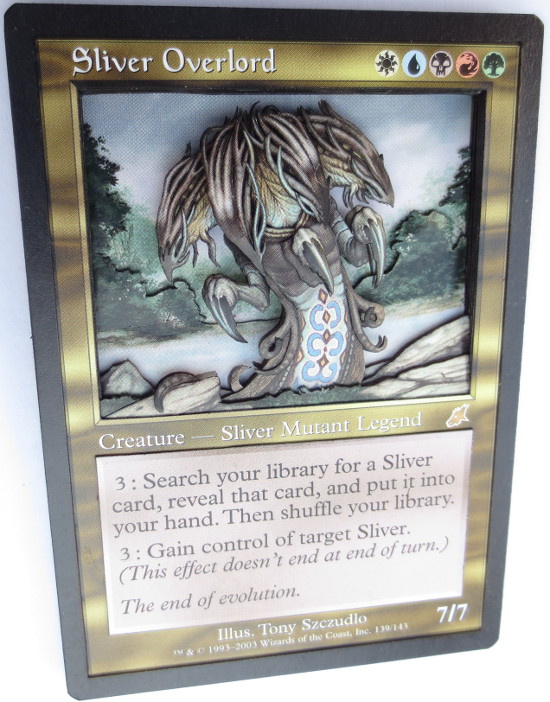
Sliver Overlord is a hugely popular card, both as a Commander and otherwise. I love the art, which depicts the newly-created legendary sliver surveying the chaos of Dominaria for the first time. I’ve had the necessary materials for a long time. So, why did it take me so long to finally make this 3D version?
The primary thing holding me back was concern that I wouldn’t be able to make the tentacle-hair of each of the Overlord’s heads look good. Usually, I enjoy cutting and assembling a lot of detail pieces. Take, for example, the two cards that Marcel (of Gathering Magic’s Brainstorm Brewery podcast) had me make:
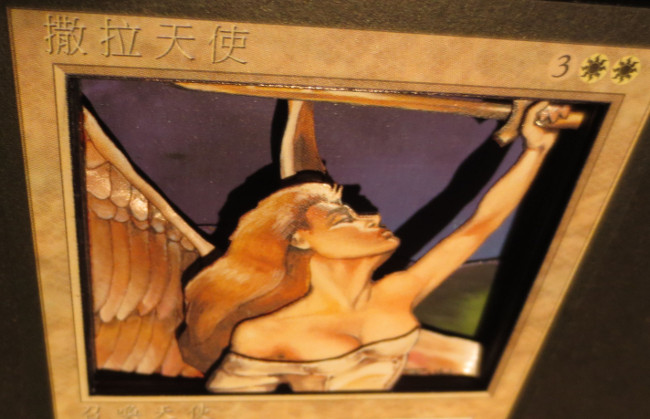
Serra Angel for Gathering Magic's resident Angel, Heather Lafferty
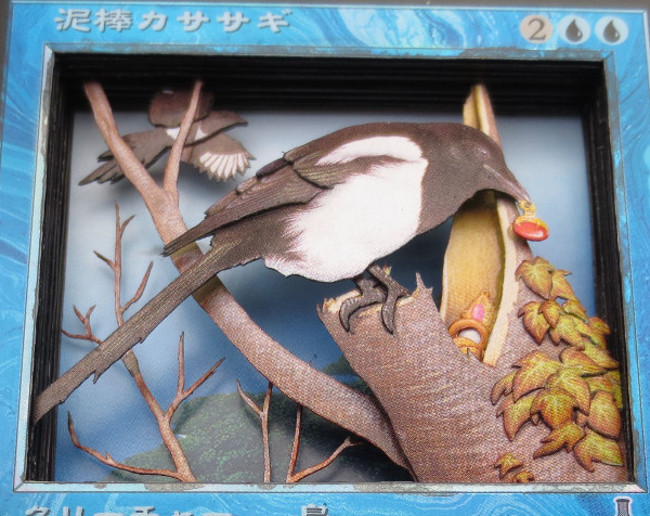
Thieving Magpie for Jonathan Richmond @norbert88)
Each of those 3D cards had a ton of detail pieces overlapping in a small area. There are over twenty feather pieces making up the Serra Angel’s right wing and an equal number of leaf pieces on the trunk of the tree in Thieving Magpie.
Despite needing fewer tentacle pieces than leaves or feathers, I knew assembly would be harder than either of those for three reasons:
- Some of the pieces would be very skinny. Skinny pieces are fragile, hard to hold, and hard to glue.
- Some of the pieces would snake under and over each other. This is tricky to do with larger pieces, let alone small ones.
- Many of the pieces would need to be crammed into a small space. This meant I'd need to shave them thin, making them even more fragile and tough to work with.
So, how did it turn out? Read on to see!
Bringing the Overlord to Life
In the past, I've talked about the importance of planning ahead. While I stand by that—and I did do a lot of planning for this 3D—I don't always start with planning. For this card, the first thing I did was cut out a basic layer of the Sliver Overlord. Cutting a layer or two is a lot more fun than planning, and it also motivates me more to keep working.

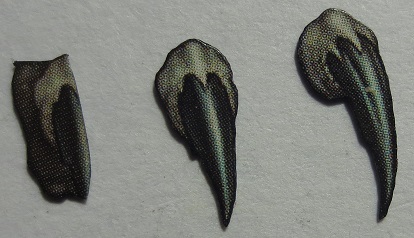
I cut off some of the tentacle tips from the top and sides that I knew I'd be replacing with detail pieces later, but I otherwise left it intact at first. Next up were the detail pieces for the Overlord's side heads:

With each of the sliver heads, I had to find a balance between cutting enough detail without ruining the smooth look for the front of their heads. My initial plan called for more individual pieces, but I found that slicing and spreading parts of larger pieces looked better than trying to lump too many smaller pieces together.
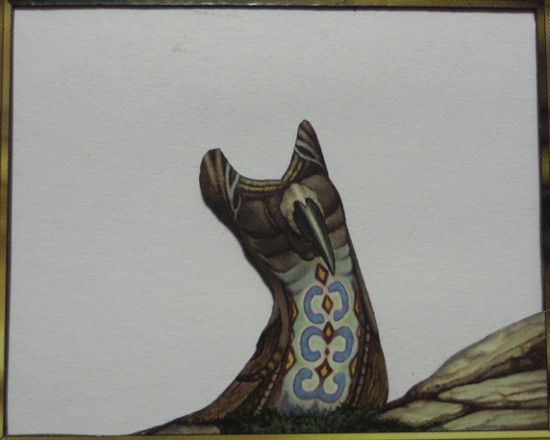
Attaching those pieces to my main layer gave me this:

You can see that I shaved off the rest of the side tentacle and cut out a couple more detail pieces for the sections that would be covered up by further-forward layers. One of those pieces can be seen here along with the other claw and arm pieces:
The arm on the left has a smooth transition from forearm to knuckle, so it didn't need a detail piece to separate the two.
In my planning, I'd determined that I only needed one more basic layer for the sliver's body:
The only other change I made to that layer was to cut away more of the side tentacle on the left so that the detail piece I cut for it would fit. The next decision I had to make was whether the front heads should have their own basic layer or just be a mass of detail pieces. Because the necks tuck behind the forward layer and the chins tuck over it, building on a core detail piece would work better.
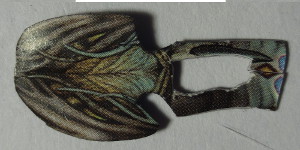
The rectangular hole in the base of that piece doesn't serve any purpose—that's just where I cut out the center-arm detail piece, as seen above with the claw pieces. That base piece didn't have to be very big because, once again, I was going to pile on some more details:

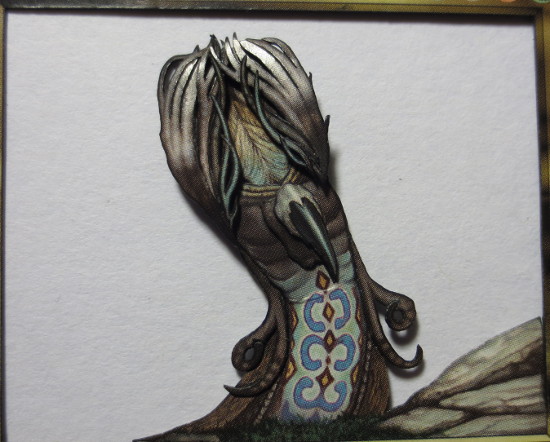
After a bit more assembly, I had the front part of the Sliver Overlord complete as well. Note that I've also attached the two side tentacles and the center arm and claw:
With the body of the Sliver Overlord almost complete, I had to figure out what to do for the background. The trees in the background are spotty and ill-defined—a common artistic technique that looks really good as a painting but isn't great for making 3D. I considered swapping it for a different basic land but couldn't find any that fit the original artwork very well. I settled on just bringing out the front line of trees and trusting the 3D body of the Overlord to divert attention away from the rest.
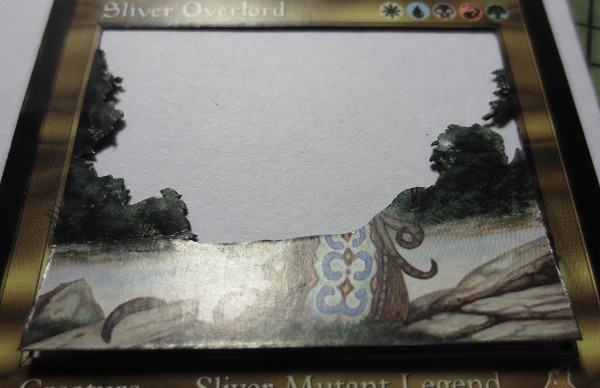
The river is also from that basic layer. I cut the river portion away from the border and bent it forward so it angled toward the front of the card.
The only detail pieces I had left were two small tail pieces. The one on the left overlaps the foreground rock while the one on the right is further back.

The last things to cut were the top couple of layers: a basic layer of the foreground rocks and grass and an empty Sliver Overlord frame to put on top of it all.
The finished stack is like this:
| Bottom Layer: | Sliver Overlord – unaltered |
| Layer 2: | Spacer |
| Layer 3: | Sliver Overlord – Trees, with river bent forward |
| Layer 4: | Spacer |
| Layer 5: | Spacer |
| Layer 6: | Spacer |
| Layer 7: | Spacer |
| Layer 8: | Sliver Overlord – Side heads and claws |
| Layer 9: | Spacer (front head insertion) |
| Layer 10: | Sliver Overlord – Front of body |
| Layer 11: | Spacer |
| Layer 12: | Sliver Overlord – Rock & grass |
| Layer 13: | Sliver Overlord – Frame only |
| Top Layer: | Text box and black border raised |

I'm at Gen Con this week with some of my 3D alters, including this Sliver Overlord. If you'd like to see them in person, track me down in the TCG hall!
Drew Sitte
AlteredCity at gmail dot com
@AlteredCity on Twitter