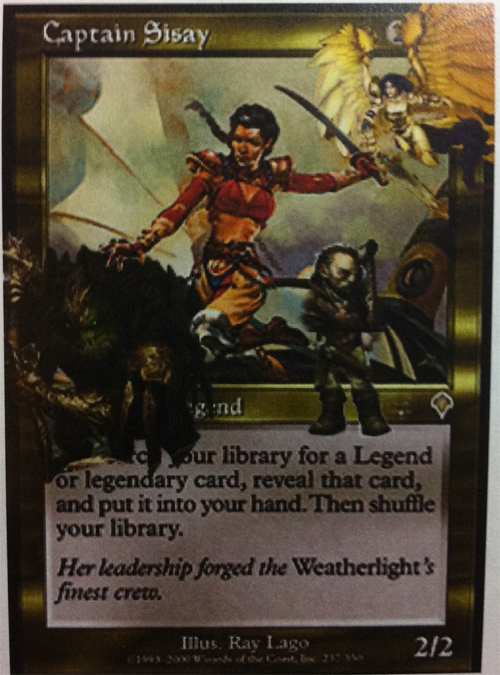
This week, we’ll be working through another card I’ve had sitting on the docket for some time. I let it hit the back burner a few times because I wanted to do something really special for the owner: Mike. I’ve been chatting with Mike on Twitter (@burritoman88) for some time now, and he’s always been an active voice in the community. He also owns a Skithiryx that I did some time ago.
I had the pleasure of actually meeting him in person at the SCG event I attended last year, and he chilled out at the booth with us a bunch, cementing his most-awesome-reader status. Just painting an extension for him wouldn’t be enough, so I spent a lot of time brainstorming. After I had used the transfer method for the first time, it really opened up the possibilities for me, so I decided that I would put something cool on Captain Sisay that might be relevant to the Burritoman.
He had told me before that Sisay was his main Commander—something we have in common—so I figured if I asked him for his decklist, he wouldn’t suspect anything. He messaged me a day later with a full list submitted to TappedOut.net, and I began looking at the art on all of the key cards in his deck, hoping to grab a few characters to transpose onto the card.
I ended up mocking this up in Photoshop, and it looked pretty good as an outline—albeit a little daunting of a painting task. It’s worth a try, though, right?
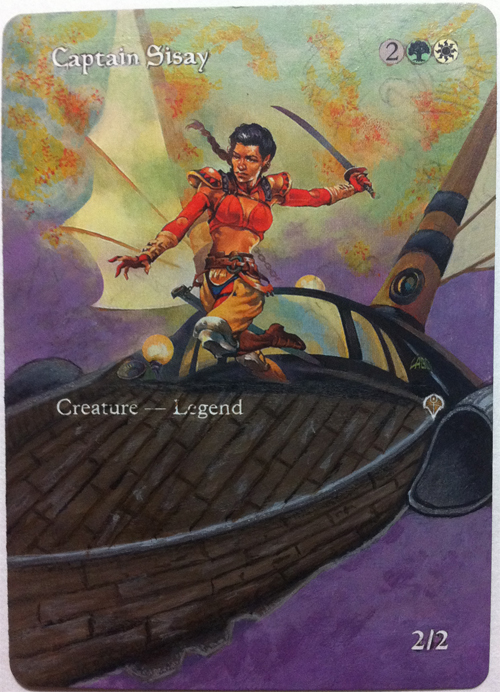
Mike’s Captain Sisay was already a fair amount complete at this point, since I had done the sky and mast portions a good while back.
I laid it out on my work surface, stuck the mockup on top, and transferred the image by tracing the front of the picture with the heavily leaded back pressed to the card. Voila.

Hmmm . . . it didn’t work out so well. Not only were the lines faint and difficult to navigate, but there just seemed to lack any sort of detail due to the crazy-small scale I was working on. Akroma didn’t look too bad up top, but the guys on the boat were brutal, so I made a tough decision and decided to scrap the idea, erasing the transferred pencil to the best of my ability. Might as well work on the boat while I wait for another idea to pop up.
The first time I painted a Sisay, I wasn’t really happy with the perspective of the boat. I messed up on the angles, and it ended up below my standards. I vowed then that the next Sisay I did would be vastly improved, but it turns out that it is easier said than done.
At this point, I’m just filling in the boat to make it ready to actually work on. I did really like the perspective at this point . . . compared to my first Sisay. Also, you can still see a fair amount of Akroma here and going forward, as it just didn’t seem to want to come off.
The next picture is more of the same: prepping. In this picture, you can see I’ve cleaned the lettering up, though. I’ve mentioned it many times in the past: Clearing lettering like this should be done as often as possible—it’s much easier to take off in thin layers than it is to take off ten caked-on layers down the road.

I always get carried away and neglect to take pictures at regular intervals. Ugh.
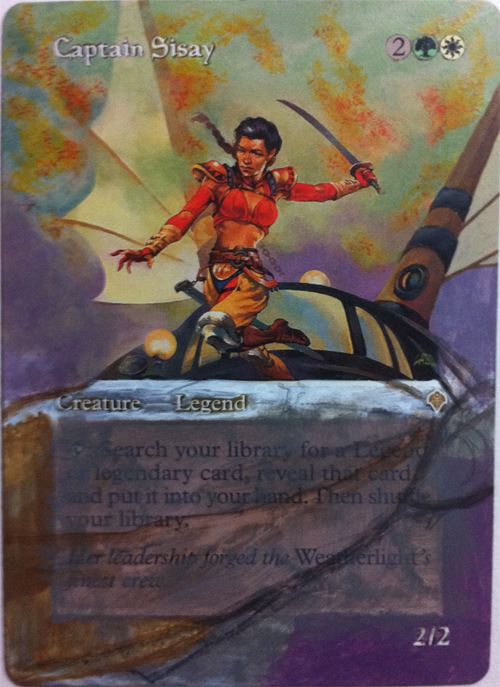
This next picture shows the deck prepped and the bulk of the work on the side of the vessel already completed, including the big engine on this side.
Time to get working on the deck! I tried painting in some lines, and they didn’t look all that appealing, so I added more in a slightly different direction to get a feel for where I’d want my planking. The side of the ship was also fleshed out a little more by this point, and I settled on an engine shape. I also went against my own rules and started working on detail items before the background stuff was finished . . .

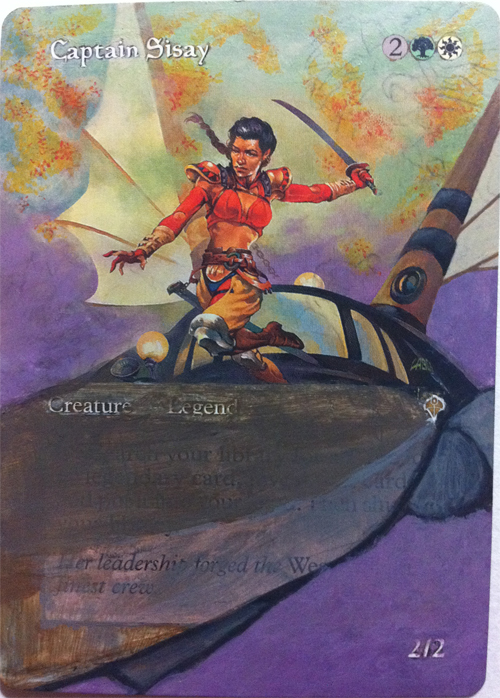
I added a few other colors to the deck to attempt to grant the decking some realism, but I just wasn’t buying it.
The decking was giving me a hard time—just as it did on the first attempt—so I cleared my head by switching gears by roughing in the funny little device and Sisay’s missing foot. At this point, I cleaned up the lettering again and packed it in, ending the night in frustration.

Giving up and just leaving the deck as-is would have been really shitty. Back to the drawing board!

I put the card to the side and got out my sketchbook, recreating the Weatherlight on paper so I could play with the deck. It ended up looking pretty good, giving me a visual reference to use as a guide while actually doing the card.

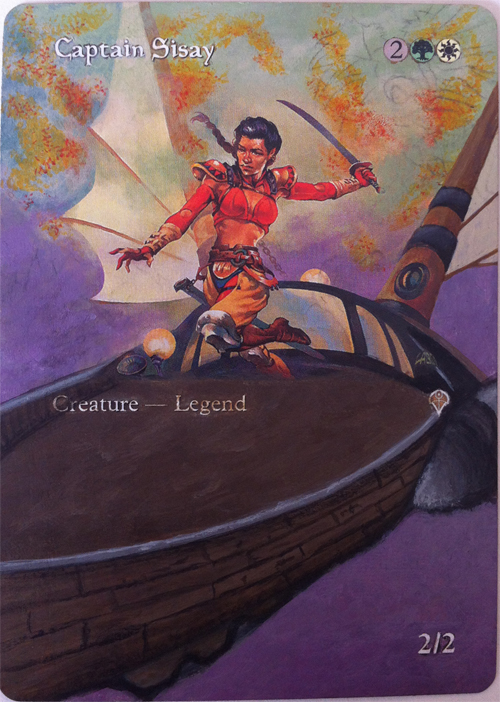
After applying the correct plank direction, it turned out looking like this:
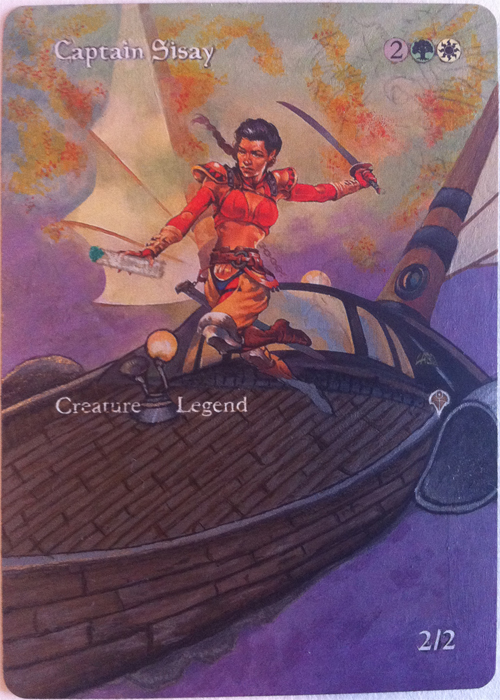
You may also note the added burrito in that image. Considering I wasn’t going to be putting all those characters on, I needed to do something to personalize it for Mike “The Burrito Man” Cox.
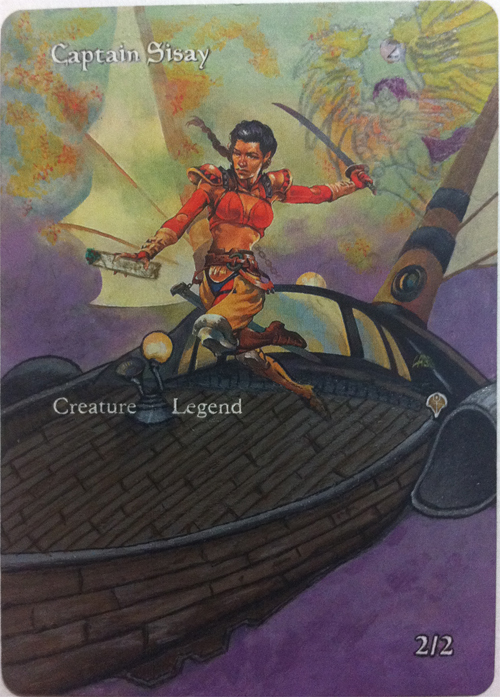
I was planning on covering Akroma with new paint in the sky, but honestly, she just seemed to fit there really well. Regardless of the tiny scale of the picture, I re-transferred Akroma to the card and hoped for the best. It turned out better than my first transfer, but it’s still so small and detailed that I certainly doubted my ability to paint it.
Again, I get carried away, and boom! Akroma’s painted. She was certainly difficult, and I’m surprised I was even able to fit a face on her and make it look passable. This is the first time I’ve painted an alter that left me feeling happy with the outcome . . . while being displeased with it at the same time. The difficulty level was high for me, so to see it come out recognizable is great, but I really wish it was on a bigger canvas so I could just paint her with the right level of detail.
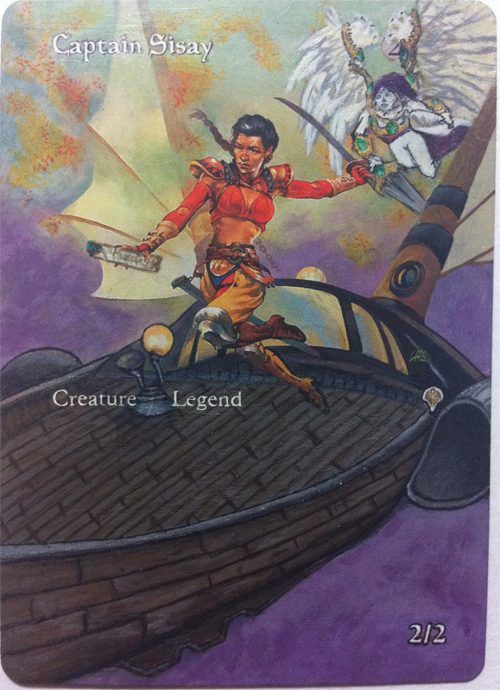
So, I penned a bunch of lines in all over the card, layered on my sig, and called it a night!

Before sending this in the mail, I’ll definitely get Mike’s opinion on the card and see if there’s anything he wants changed or added; and if there are any changes, I’ll be sure to pop a picture in a future article.
Tell me what you think below or hit me up at @JerFroggatt on Twitter. Cheers!
Jeremy