Just over a year ago, during Innistrad previews, I wrote an article about a deck designed to take advantage of Splinterfright and its little brother Boneyard Wurm. Although the deck had a few problems, it was a lot of fun, and Return to Ravnica and Magic 2013 have brought in some great new tools for it. Perhaps most notably, RTR provides an even larger version of Boneyard Wurm in Jarad, Golgari Lich Lord. Taking note of some of the weaknesses of the previous version, I rebuilt the deck, discarding blue entirely and using black as the secondary color. Here's what I came up with:
"Getting Splinters"
- Creatures (25)
- 1 Acidic Slime
- 2 Lotleth Troll
- 3 Mwonvuli Beast Tracker
- 4 Boneyard Wurm
- 4 Deadly Recluse
- 4 Ghoultree
- 4 Splinterfright
- 3 Jarad, Golgari Lich Lord
- Spells (12)
- 4 Grisly Salvage
- 4 Mulch
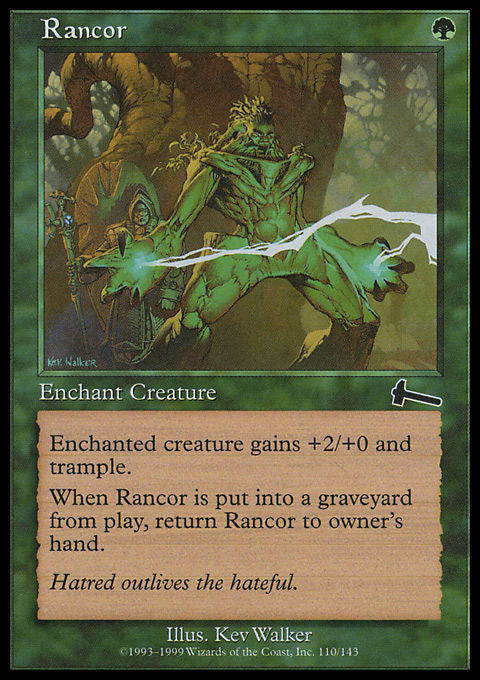
- 4 Rancor
- Lands (23)
- 7 Swamp
- 9 Forest
- 3 Evolving Wilds
- 4 Golgari Guildgate
- Sideboard (15)
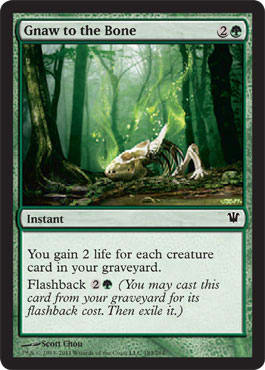
- 3 Gnaw to the Bone
- 2 Golgari Charm
- 4 Ultimate Price
- 3 Desecration Demon
- 3 Deadbridge Goliath
The Creatures

Boneyard Wurm is just Splinterfright minus the frills. Although it doesn't have any fancy abilities, it does put another large body on the board for just 2 mana, which is plenty good enough.
On the opposite side, we have Jarad, Golgari Lich Lord. He will always be larger than the other two, and although he doesn't have trample, he does allow you to sacrifice a Boneyard Wurm or Ghoultree to finish off your opponent without even attacking. If you have a pair of lands you can afford to lose, you can even bring him back from the graveyard after he’s dumped by a Mulch or Splinterfright trigger.
Ghoultree is just big. And by big, I mean gigantic. Barring any completely insane scenarios, it will always be the largest creature on the board. And how much does this sort of power cost? In this deck, it’s usually about 4 or 5 mana. Although it can be chump-blocked all day long, a Rancor can give it trample, allowing it to come rumbling in for insane amounts of damage. It can also be sacrificed to Jarad for a more direct effect.
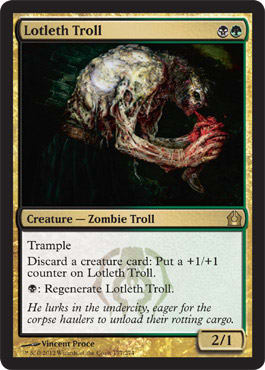
Mwonvuli Beast Tracker can find you a Lotleth Troll to get things rolling, a Splinterfright to start bringing the beats, a Deadly Recluse to deal with a troublesome attacker, or an Acidic Slime to deal with other permanents. It can then die, probably taking another creature down with it, to bring up your graveyard count. Although it doesn't work particularly well with an active Splinterfright, most of the time, you'll be casting it because you don't have one of those. If you do, you can still use it to make sure you’re able to put another creature into the graveyard next turn.
Deadly Recluse serves as a removal spell of sorts for this deck. It trades with nearly any attacking creature and boosts the power of your various Lhurgoyfesque creatures once it does its job.
A one-of Acidic Slime can be tutored up with Mwonvuli Beast Tracker if you need it, giving you a way to deal with troublesome artifacts, enchantments, and lands in Game 1. It becomes even more valuable in sideboarded games, in which you'll often need it to stop your opponent's graveyard hate.
The Spells
Mulch and Grisly Salvage are easy ways to put some creatures in your graveyard without sacrificing too much. Each of them will usually replace itself while also dumping a creature or two into the grave to fuel your threats.
The Sideboard
Golgari Charm is a very good tool to have in sideboarded games. Each of its modes gives you a solid plan against a powerful card. Giving all creatures -1/-1 deals with Lingering Souls, destroying an enchantment deals with Rest in Peace, and regenerating your creatures deals with Supreme Verdict. If you're anticipating trouble from one or more of these cards, a pair of Charms can go a long way toward solving the problem.
Ultimate Price gives you a true removal spell when you need it, letting you deal with creatures that cause trouble without attacking or those that have first strike. Although it doesn't hit multicolored creatures, most of the powerful multicolored creatures currently seeing play can be dealt with by Deadly Recluse. Only Falkenrath Aristocrat with the help of another creature can survive both, and that can be stopped with a Golgari Charm if need be.
Some players are packing a lot of graveyard hate to deal with reanimator decks—often, it’s more than they really should be. Unfortunately, this deck is especially vulnerable to some of these hate cards, so even a deck watered down with too many copies of Tormod's Crypt and Rest in Peace might be able to win the day. Since there's no real way to stop this hate in Golgari colors, I've included a backup plan in the sideboard. When your opponent goes all-in on the hate cards, you can side in Desecration Demons and Deadbridge Goliaths for a package of powerful threats that can't be dealt with by exiling graveyards.
Playtesting
Mono-Red – Game 1
I played my second Guildgate and ended my turn. My opponent played a Mountain and cast Ash Zealot. He hit me for 4 with his creatures and ended his turn.
I drew Mulch and cast Deadly Recluse. I then played Evolving Wilds and passed the turn. My opponent cast Searing Spear on the Recluse and knocked me down to 12. He played a Mountain and ended his turn, and I sacrificed my Evolving Wilds for a Forest.
I drew a Ghoultree and ended my turn. My opponent played a land, dropped me to 8, and cast Pyreheart Wolf. He passed the turn, and I cast Grisly Salvage during his end step. I grabbed a Boneyard Wurm and put one creature in my graveyard: a Ghoultree.

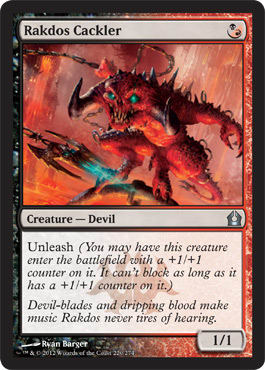
I drew a Forest for my turn, played it, and cast Ghoultree before passing back. My opponent attacked with everything, and my creatures crushed a Rakdos Cackler. I dropped to 3 from Pyreheart Wolf and Stromkirk Noble, and the Noble received a +1/+1 counter. My opponent played a Hellion Crucible and ended his turn.
I drew another Ghoultree and weighed my options. If I cast Ghoultree, I would win on my next turn—so long as I managed to survive that long. All my opponent needed was a single burn spell to finish me off. I could cast Mulch, and if I hit three or four creatures, I could cast both Rancors and win immediately. If I hit two creatures, I could still cast my Ghoultree, and not much would be different. However, if I hit one or zero creatures, I would be unable to cast my Ghoultree that turn, and I might not be able to win on my next turn. Never one to make a correct play over an exciting one, I decided to go for it. The first card was a Mwonvuli Beast Tracker. So far, so good. Second was a Deadly Recluse. Now all I needed was one more. The third card down was a Forest. Only one card left to hit a creature, and it was . . . a Splinterfright! My (probably unwise) risk taking had paid off, and I slammed a Rancor on each of my creatures and rumbled in for exactly 20.
Sideboarding:
−1 Acidic Slime
Game 2

I played my Swamp and cast Lotleth Troll before ending my turn. My opponent killed the Troll with Searing Spear before swinging in for 1 with Stromkirk Noble. The Vampire received a +1/+1 counter, and my opponent passed the turn.
I drew Jarad, Golgari Lich Lord and cast my Splinterfright. I ended my turn. My opponent cast Ash Zealot and attacked for 4, putting another counter on the Noble. He played a Mountain and cast a second Stromkirk Noble before passing the turn.
Splinterfright milled away Mulch and Ghoultree, and I drew Lotleth Troll. I passed the turn with no play. My opponent played Hellion Crucible and cast Hellrider, which I killed with Ultimate Price before combat. My opponent attacked with his 3/3 Stromkirk Noble and his Ash Zealot, dropping me to 10. He then ended his turn.
Splinterfright milled a Mulch and a Boneyard Wurm, and I drew a Swamp. I played it and cast Jarad, Golgari Lich Lord before ending my turn. My opponent cast an unleashed Gore-House Chainwalker before passing the turn.

Splinterfright milled Grisly Salvage and a land, and I drew and played a Forest. I ended my turn, and my opponent put another counter on his Crucible. My opponent played a land and sacrificed his Hellion Crucible for a 4/4 with haste. He then cast Flames of the Firebrand to kill my Splinterfright and attacked with everything. My 6/6 Jarad blocked the 4/4 Stromkirk Noble, while a 4/4 Boneyard Wurm took down a Gore-House Chainwalker. Lotleth Troll jumped in front of the Hellion and regenerated. I dropped to 5 life, and my opponent ended his turn.
I drew another Gnaw to the Bone and passed the turn. My opponent cast Hellrider and attacked with everything. However, with the lethal 5 damage of attack triggers on the stack, I gained 8 life with a Gnaw to the Bone, putting me back in the safe zone. Jarad blocked and killed the Hellion token, and Boneyard Wurm took down Hellrider. Lotleth Troll blocked the 2/2 Stromkirk Noble and regenerated, and I dropped down to 4 from the Ash Zealots. My opponent ended his turn.
I drew and cast Grisly Salvage, putting a Boneyard Wurm in my hand and dumping a Jarad in the graveyard. I attacked for 7 with Jarad and ended my turn. My opponent cast Pyreheart Wolf and ended his turn.
I drew Golgari Guildgate, cast Boneyard Wurm, and ended my turn. My opponent cast Stromkirk Noble and ended his turn. During his end step, I sacrificed Lotleth Troll to Jarad to bring him down to 11. I then untapped and sacrificed both Boneyard Wurms to finish him off.
Wrap-Up
Admittedly, I was very lucky in Game 1, but the second game demonstrated the power of Gnaw to the Bone against aggressive decks. It also showed off the staying power of the deck. Since creatures like Boneyard Wurm and Splinterfright grow more and more powerful as the game goes on, you don't have to worry about being stuck drawing irrelevant creatures later in the game. If you want to attack with an excessive number of Lhurgoyfs or if you just want to cast a 4-mana 10/10, be sure to give this deck a try.
As always, if you have any questions or comments, you can find me on the forums under Twinblaze, on Twitter under @Twinblaze2, or simply leave a comment below.