


As with most things in life, in Magic, there are times when you want to be challenged and times when you just want to relax.
For many years, I played Magic only on my computer. When I was in the mood for some challenging games, I'd boot up Magic Online to play some Classic or Prismatic. When I wanted something simpler, I'd occasionally turn to Shandalar, the old Magic computer game. Most early games in Shandalar came down to luck—usually luck of the draw or of the matchup, but sometimes luck of the bad programming when the computer cast Giant Growth on your creatures for you or Disintegrated your Serra Angel when you were at 4 life.
Eventually, though, you'd collect so may powerful cards that most computer opponents posed no challenge. One of my low points in life was playing this deck for five straight hours.
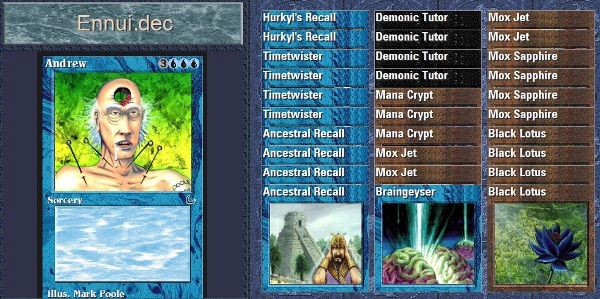
That's right, I shuffled that pile up against computer opponents packing Scryb Sprites and Vampire Bats. Wheeee?
More often, I prefer the challenging side of Magic. One of the things I love about Commander is that there is so much going on and so many interactions to consider.
Some of my Commander decks are built to make games more challenging for me. I've talked about my all-commons Sivitri Scarzam deck before; half of the fun with that deck is overcoming the challenge imposed by the low card quality and the limited strategic options it offers. My Wort, Boggart Auntie deck is challenging for a different reason.
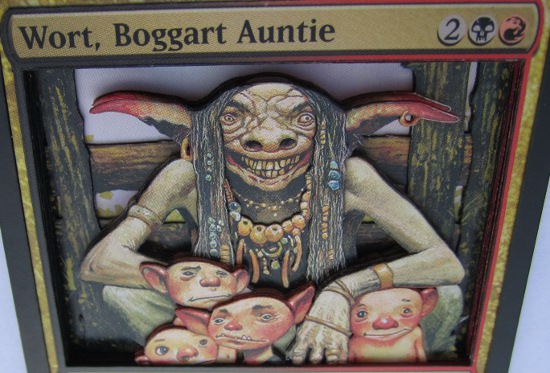
As you might expect, my Wort is a very aggressive Goblin tribal deck. Most games, Wort's horde deals damage to multiple players early in the game, uniting them against me. Figuring out how to manage my resources and life total to survive is a very fun challenge.
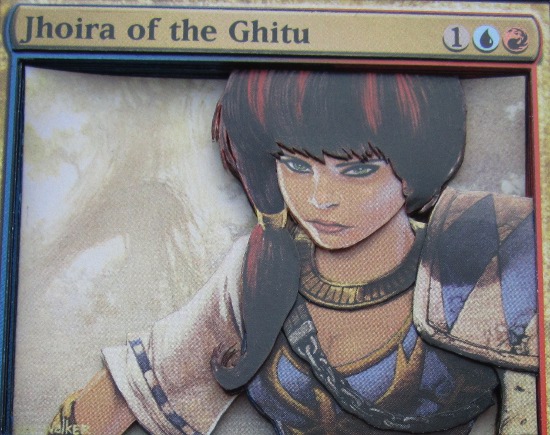
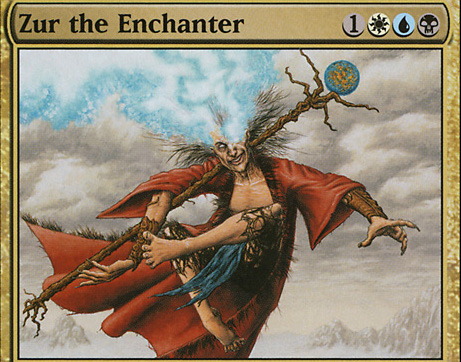
Though I've never played one myself, I imagine that pilots of Zur the Enchanter decks must love that kind of challenge. Almost every time I've sat down across the table from the crazy old man, the other players eagerly gang up on Zur. The one time that didn't happen, it was because Jhoira of the Ghitu was sitting next to him.
It's come to the point that I've started to doubt that Zur decks are any good because I've never seen one succeed.
Cutting and building a 3D version of Zur the Enchanter has some similarities with building and playing a Zur deck. The number of silver-bullet enchantments available to a Zur deck-builder is huge, but you can't run them all. You have to plan ahead based on what challenges you think you will face. Then, once you're playing a game, you have to be able to adapt to unexpected challenges as they arise. Of course, Zur's repeated tutor ability can be very helpful in overcoming the unexpected.
Planning Ahead
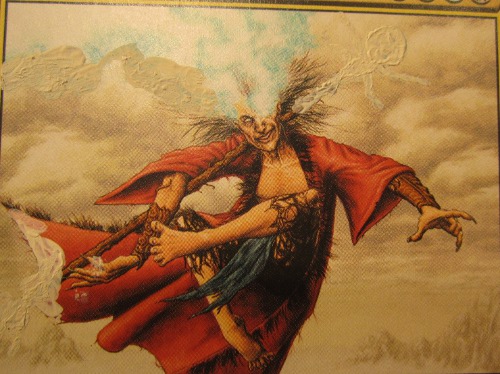
I knew from a quick glance at the art that Zur was going to require a lot of overlapping detail pieces. I'm going to start today by stepping through my mental process for figuring out what needed to be detailed.
When a character you're making 3D will be made from a lot of overlapping pieces, break down what those pieces will be by picking one part of the character and determining how that spot connects to other parts.
Here, I started with Zur's left hand and forearm. His forearm is on top of his inner sleeve and below his outer sleeve. In addition, the three curled fingers of that hand could be set back farther than the thumb, forefinger, and forearm. Thus, I had four pieces:
- Left forearm/partial hand
- Fingers
- Inner sleeve
- Outer sleeve
From there, I followed the outer sleeve to see where it connected to other parts. It tucks behind Zur's head, is almost flat against his chest, overlaps the back of his cloak, and is overlapped by his right foot and left knee. This gives me a few more needed pieces:
- Left leg
- Right leg
- Head
- Back of cloak
I continued this process on through, tracing each element and taking notes of what I thought I would need to cut. My complete list was this:
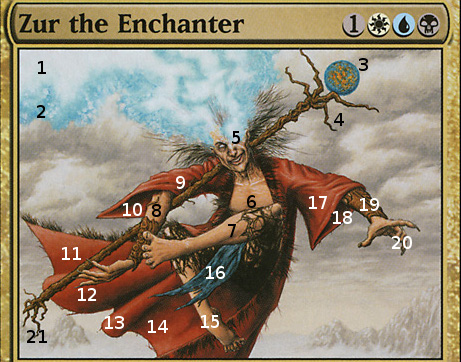
| 1) Energy lines | 8) Right arm | 15) Right leg |
| 2 ) Energy field | 9) Right sleeve | 16) Loincloth |
| 3) Orb | 10) Inner sleeve | 17) Robe & sleeve |
| 4) Staff | 11) Robe | 18) Inner sleeve |
| 5) Head | 12) Robe fold | 19) Left arm |
| 6) Body | 13) Robe fold | 20) Fingers |
| 7) Left leg | 14) Robe | 21) Staff curls |
Adapting
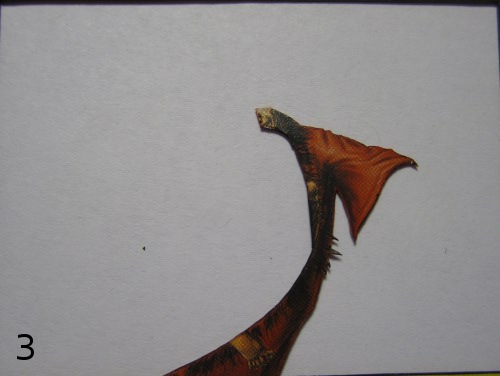
Going in, the part I was most nervous about was the wave of energy coming out of Zur's head. I wasn't sure how it would look after being cut, and if it turned out poorly, the whole card would be a bust. I cut these two layers:
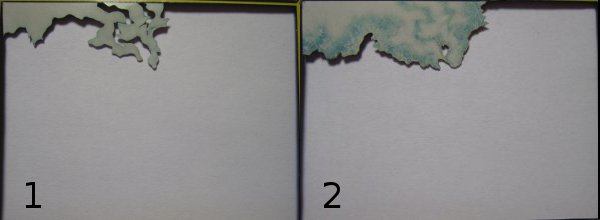
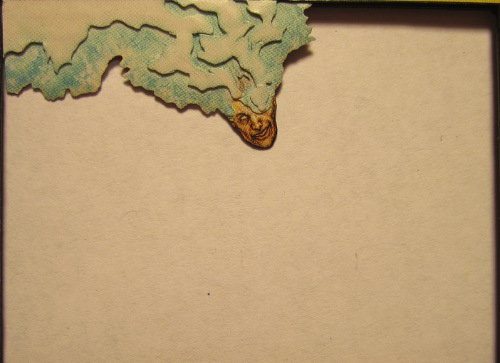
Then, I cut a piece to be Zur's head and assembled the two layers and the detail piece. In order to make the energy wave attach more smoothly to Zur's head, I shaved off the back of the wave where it connected to the head.
Happy with how that turned out, I moved on to the rest of Zur's body. I cut this base layer:
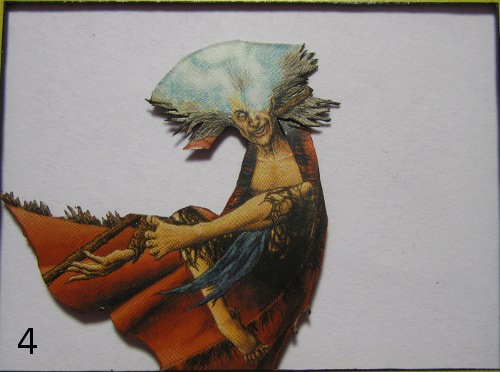
During the planning stage, I thought that I would use a series of detail pieces for each segment of the robe. After cutting that layer, I realized it could be both the base and a couple of the robe sections, so I modified my plan.
Next up was my final regular layer: the left side of Zur's robe.
Finished with regular layers, I cut out all of the detail pieces I'd need:
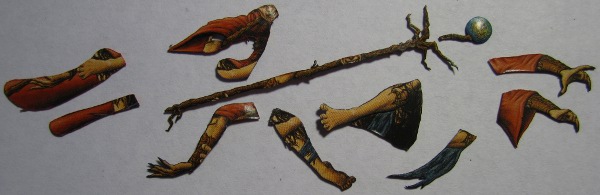
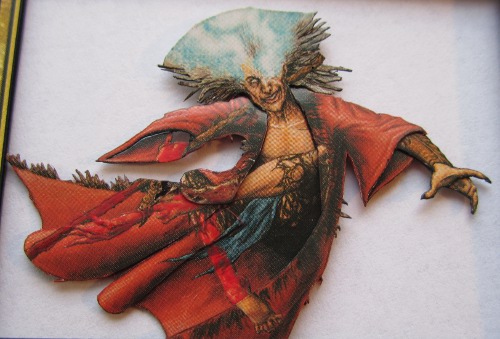
The only detail pieces not pictured there are the head, which I cut earlier, and other wood curls from the tail end of the staff. I shaped most of the pictured pieces with my pottery tools before beginning assembly. After assembling Layers 3 and 4 and attaching the robe curls and Zur's right robe/sleeve piece, I had this:

While figuring out how best to assemble the rest of the pieces, I realized that the tans and browns of Zur's limbs in the robe pieces weren’t going to be covered enough for my liking. After attaching Zur's left arm pieces, I used paint to diminish the distracting colors in a few key spots:
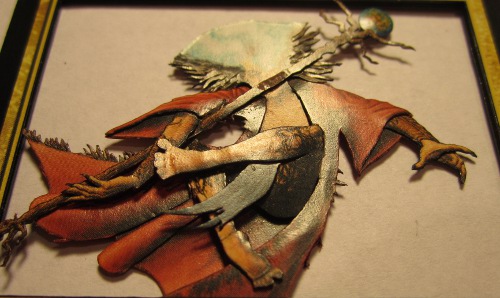
While attempting to assemble the right arm and staff, I hit another snag in my plan. The way that the pieces needed to overlap each other wasn't working; there simply wasn't enough space for the arm, sleeve, and staff to all cross in such a small area. The staff kept bending, and I couldn't make it line up straight.
Eventually, I found that by cutting the staff in half and lining up each half separately, I could come much closer to the placement I wanted. With the rest of the detail pieces attached as well, I had this:
Finishing Up
After packing so much detail into Zur, I left the far background rather plain. The one change I did make was to use paint to diminish the ends of the staff, which were the only parts of Zur that peeked out from behind his body.
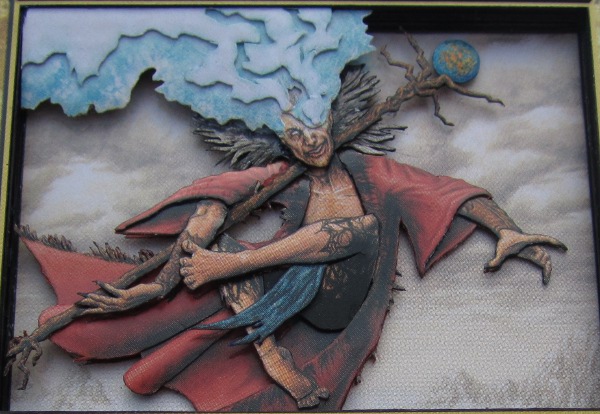
The finished stack is like this:
| Bottom Layer: | Zur – With staff painted away |
| Layer 13: | Spacer |
| Layer 12: | Zur – Main body layer |
| Layer 11: | Spacer |
| Layer 10: | Spacer |
| Layer 9: | Zur – Robe & Sleeve |
| Layer 8: | Spacer |
| Layer 7: | Spacer |
| Layer 6: | Spacer |
| Layer 5: | Spacer |
| Layer 4: | Zur – Energy wave 2 |
| Layer 3: | Zur – Energy wave 1 |
| Layer 2: | Zur – Art and text box removed |
| Layer 1: | Info boxes and border raised |
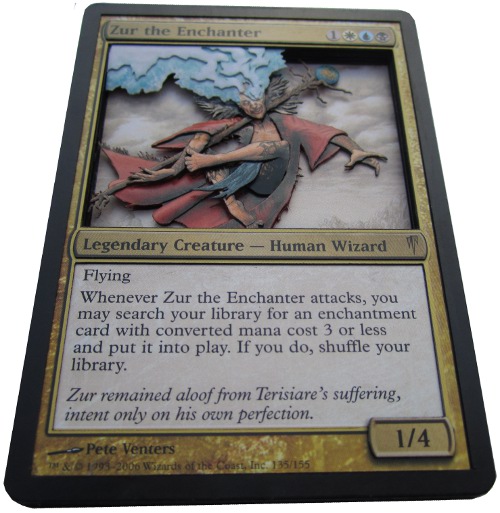
Though I'm actually not a fan of Zur decks, making this 3D Zur was a lot of fun. If you're someone who hates Zur passionately, you have an even stronger reason to make a 3D Zur; I imagine that destroying seven copies of the card could be very cathartic.
Drew Sitte
alteredcity at gmail dot com
@alteredcity on Twitter