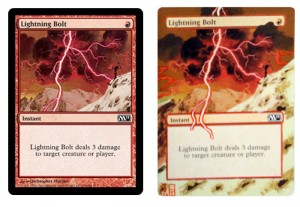
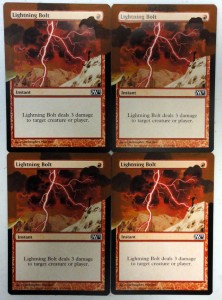
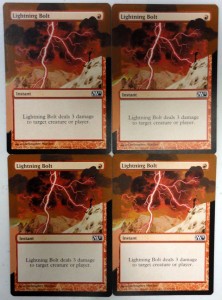
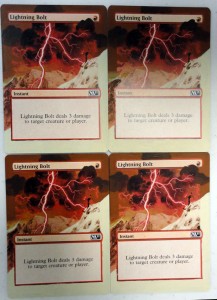
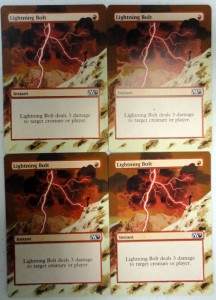
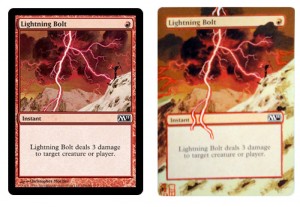
Aaand we're back. I've been asking you to submit ideas for cards to be altered, and this week I'm taking another suggestion (sort of). This one is for everyone who's taken 3 damage to the face this week. By popular demand we'll be working on Lightning Bolt.
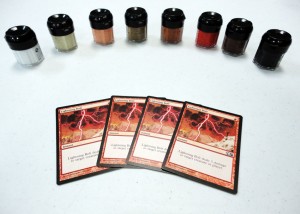
Note: For anyone new to this article, I'll be using Citadel acrylic paints. These paints come in a HUGE range of great colors, and dry extremely flat on the cards. You can find them at any hobby store. I include the names of the colors that I use for each section in parentheses.
No, not that Lightning Bolt. THIS Lightning Bolt:
I realize that the classic illustration is the more popular image, but I chose the newer version for the following reason:
- To alter the original Lightning Bolt image we would only be using 2-3 colors.
- Those colors would be light blue, dark blue, and black.
Sure, we could get tricky and add red lightning or something like that (in fact, feel free to do that yourself and send me a photo!) but the newer illustration is fun, detailed, and very red.
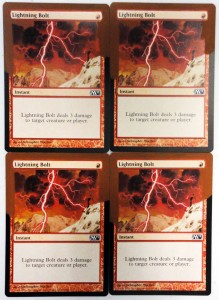
I'm going to start with the top half of the sky. I'll use a rust brown (Vermin Brown) for the backdrop. It will take a few layers to make the color opaque over the border. If you want, you can do an underpainting of beige (Bleached Bone) to cut down on the painting time.
Next to work on the ominous clouds, we'll mix a little dark brown (Scorched Brown) with our Vermin Brown. I'm going to take a small brush and continue the cloud forms on the left, top and right of the sky. With the cloud forms in place, I'll go back over the clouds with Scorched Brown to add shadows to the clouds.
On the far left, just above the mountain you can see a little bit of sunset peeking through in the distance. Next to that, we're going paint a spot of beige (Bleached Bone), and blend so dark honey yellow (I'm using Desert Yellow, but a little medium brown mixed into a yellow would do the same). You can either use a dry brush to blend it into the rest of the rust sky, or blend some Vermin Brown across the top while the paint is still wet. This is a tiny area, so don't worry about it too much. This is one of those places where close enough is just fine.
Once I'm happy with that, I'm going to start working on the mountain just underneath that sunset. I'll use my flesh color (Dwarf Flesh), which is a little darker than an average flesh tone. If you have or mix a flesh tone that seems lighter than the reddish shade of the mountain on the left, mix in a little medium brown to bring the tone down.
After that I'll take out my ratty brush, pick up a little dark brown (Scorched Brown) and add a good amount of texture to the flesh-colored mountainside. Then I'll make a mixture of about half white (Skull White) and half beige (Bleached Bone) and paint in the shape of the opposing snow-covered mountainside staring just underneath the one we finished, continuing along the bottom, and reaching up the right hand side.
Let's once again grab that ratty brush, pick up some medium brown (Graveyard Earth) and intermittently drags some short strokes on the light mountain to mimic some rock face poking through the snow. Then on some of the medium brown strokes, use your small brush and add some small angular shapes of dark brown (Scorched Brown), using what's in the original art as a guide.
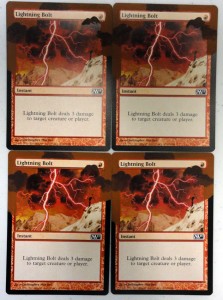
All we have left is the actual lightning. I'm going to take my small brush again, and paint in lines of lightning, first for the main bolt in the center and it's derivative bolt, bringing them into the textbox. Then take the small brush again and extend the lesser bolts in the background. Don't worry that the white sticks out, we'll fix it in a minute. When that's dry, grab your red (Blood Red) and outline the central bolt. Then paint OVER the white you did for those bolts in the background. Since red tends to be transparent, the white should still peek through, and they should blend into the original image better.
As always, sign and date your work, and seal the cards with acrylic sealant spray to keep them from sticking to sleeves. Once again, if you followed along with your own Lightning Bolts, I'd love to see them! Send them to me at awillson@jupitergames.net.
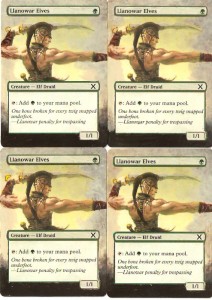
Here's what Sean came up with from the last article:
On that note I'd like to share a word in closing. The future of card alteration (specifically professionally done alters by commission) is growing increasingly uncertain. I've been experiencing this first hand recently. I won't get into it here, but if you read certain altered art threads on forums you may know what I'm referring to.
With this in mind, the only way to insure the future of altered cards is for those who enjoy seeing them to get involved. Whether or not you feel you have artistic talent, if you love seeing cards take on new life, give it a try yourself. Or convince a friend to. Not to sound chauvinistic, but it can be a great way to get a wife or a girlfriend into your Magic hobby (I know more than a few cases of this happening).
I know everyone comes up with a great idea they'd like to see done. If you have an idea, try it! Use the techniques I talk about, or come up with your own style, do whatever! Altered cards are about fun, just as the game is. If you're thinking about getting into altering, don't wait until there aren't any examples to look at.


