Dragons are awesome!
Obviously.
What’s less obvious is that dragons have great art for making 3D cards. I have no idea why, but it’s absolutely true.
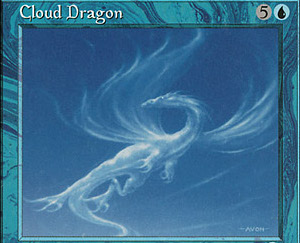
The exception that proves the rule.
I first made this discovery while making 3D cards for the Middle Earth CCG. Many of my favorite 3D cards from that game happen to be dragons or drakes.
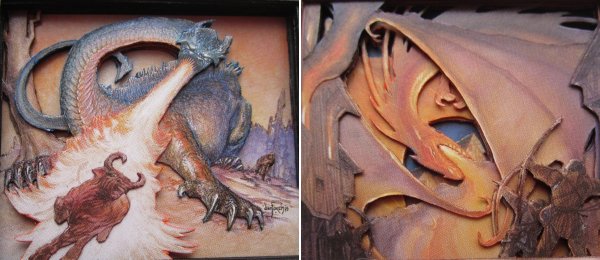
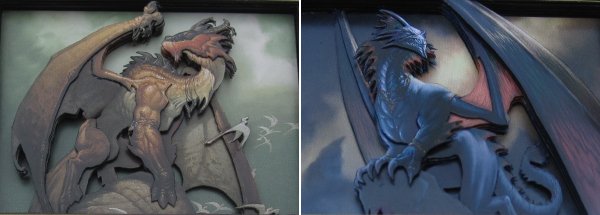
While not particularly impressive compared to the cards I make now, those were among the best of my early 3D cards. Each time I would find a dragon card I thought would look okay in 3D, I would be surprised by how much better the finished product looked than I had expected. When I made the switch to cutting up Magic cards, I found the same thing. The Planar Chaos dragons are some of my favorite 3D cards.
In addition to those alternate-reality beasts, I’ve made 3D versions of a few other legendary fire-breathers, including Nicol Bolas and Karrthus, Tyrant of Jund. However, no dragon is as popular a commander as Scion of the Ur-Dragon [citation needed].
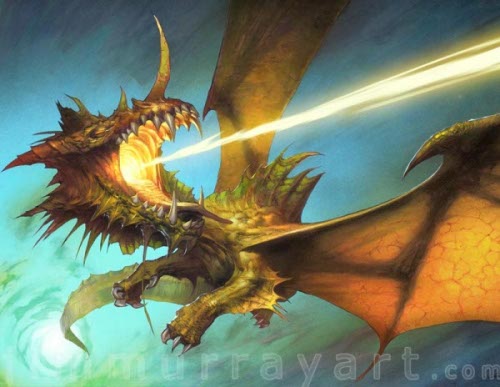
That popularity means I’ve received multiple requests for a 3D Scion. There are only a couple cards I’ve made more than a single 3D version of, but I recently made my third 3D Scion.
The first time I made a 3D Scion of the Ur-Dragon was almost eighteen months ago. My process for making the most recent copy was different in many ways from the process I used on the first one. This week, I’ll compare the two versions to see what has changed and what hasn’t.
Back in Time
The core of what goes into my 3D cards hasn’t changed in a long time. Each one is composed of three elements:
- Basic Layers – Copies of the card with some of the art removed. The rest of the card is built around these layers.
- Detail Pieces – Parts of the card’s art have been removed from a copy and are glued to a basic layer.
- Spacers – Either random commons with the art entirely removed or pieces of foam. They add depth to the card by adding space between the basic layers.
When I started making 3D cards, I used only basic layers and spacers. It wasn’t until after I’d made a dozen or so cards that I started adding detail pieces. For a long time, I would only use detail pieces when absolutely necessary. By the time I started cutting up Magic cards instead of Middle Earth CCG cards, I was doing a lot of detail work, but I still stuck with basic layers as much as possible.
When I made that first 3D Scion of the Ur-Dragon, I used an uncut copy of the card for the far background, and in each further-forward layer, I cut out more and more of the background.
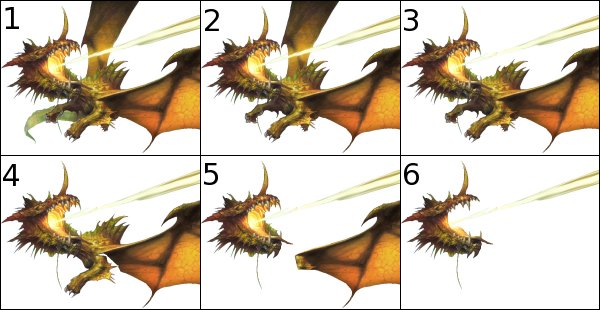
For the most part, each layer was separated from the next by a single spacer. I tucked the visible part of the arm in Layer 5 behind that arm in Layer 4 (hence the gap in the wing in Layer 4). Finally, I added two detail pieces: the dragon’s face and tongue.
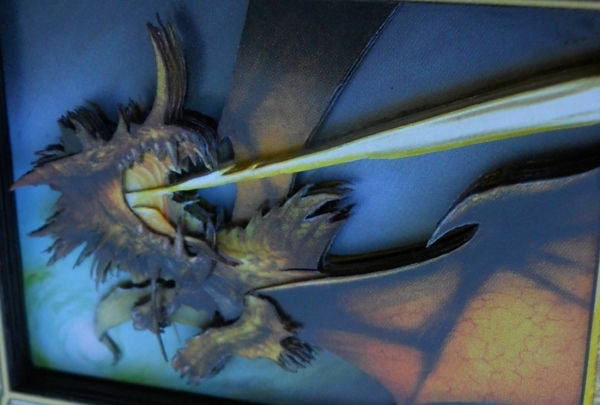
Assembled, the completed card looked like this:
The second Scion I made just a few months after the first, and the process was mostly the same, except I added an abacus life counter to the text box, so the spacers between some of the layers were much thicker.
Scion 3.0
The biggest change to my process has been in how I approach cutting and construction.
First, I shifted my focus from maximizing the number of basic layers to making each decision based on what I thought would look best. This might seem obvious to you, but I was so stuck in my method that the transition wasn’t a quick one. In practice, this means more detail pieces and fewer basic layers.
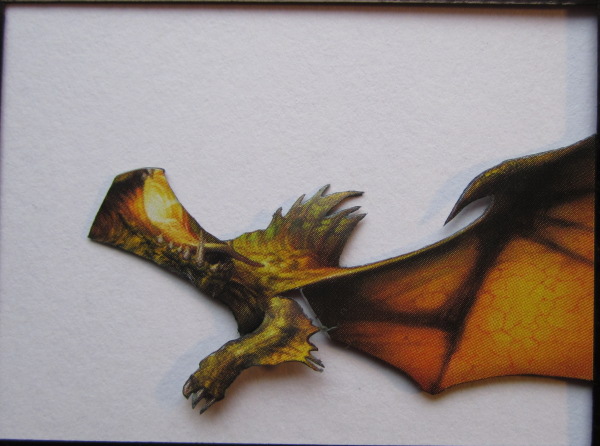
In making this Scion, I used the same two detail pieces I did on the first version (the face and tongue) while detailing the dragon’s head.
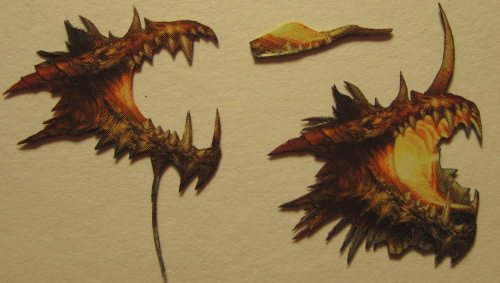
You could say that I added in an extra detail piece (the mouth/head/horn piece shown above), but really, I just replaced basic Layer 6 from the original method with a detail piece.
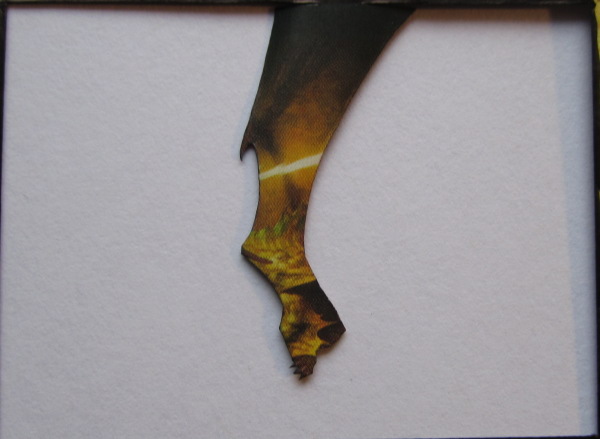
Similarly, the other detail pieces I cut for this version don’t add much detail:
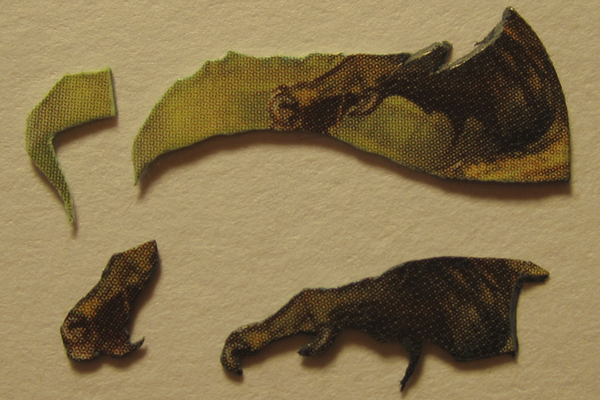
The pieces on the right simply replace basic Layers 1 and 3. The pieces on the left do add a bit of complexity, setting back the tip of the tail and some of the claws of the dragon’s right hand.
In addition to changing the number of basic layers I use, I changed what those layers look like. In the past, for each basic layer, I removed as little of the artwork as possible. You can see this in the basic layers for the first Scion. For example, the energy bolt only needed to be visible in the top layer, but I didn’t remove it from any of the other layers.
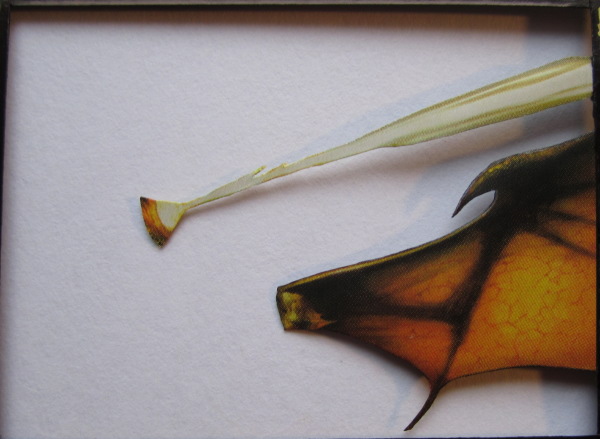
I’ve been changing this more and more. Here, you can see the layer I used for the Scion’s right wing.
Compare that to basic Layer 2 from the original, and you’ll realize that one benefit of doing things this way is that it can save a lot of time. A lot less cutting was necessary to make that piece.
The same is true of the other basic layers I used in this version:
Once again, I cut a gap behind the left arm for the wing from the next layer to tuck behind:
Painting
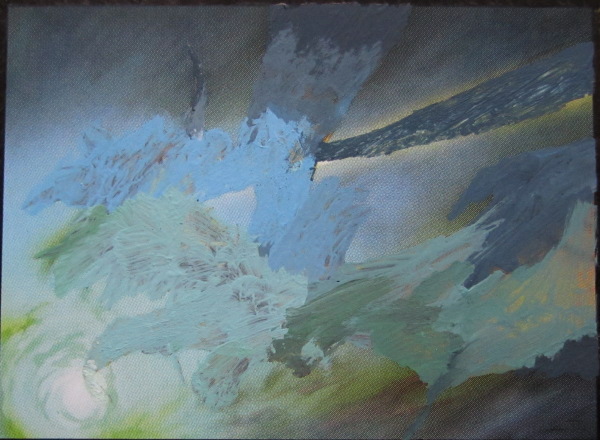
One of the disadvantages to this minimalist approach to basic layers is that the background art is more visible at slight angles. I’ve talked a few times in the past about how I’ve been using paint to address this issue.
Here’s what I ended up with for the background layer of this 3D Scion:
While I still don’t use paint on every card, it’s becoming more and more common.
Shaping
Like painting, shaping individual layers and pieces is something I had not tried until recently. Outside of a few special pieces like the eyeball on the 3D Gitaxian Probe I made a few months back, most of my detail pieces and basic layers stayed flat.
That changed shortly after I saw one of Seishiro Ohkubo’s 3D cards in person for the first time. Eric Klug brought this to GenCon:
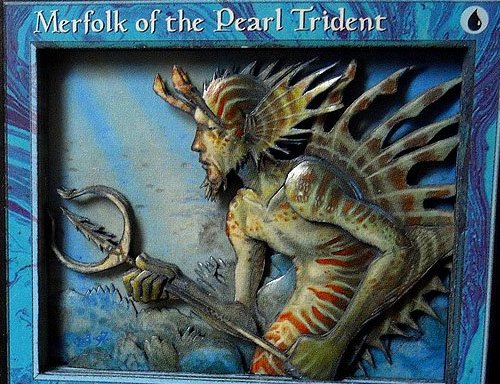
The curve added to the limbs and fins of the merfolk added a lot to the card, so I knew it was something I wanted to try. Shortly after returning home, I picked up a pack of clay-shaping tools:
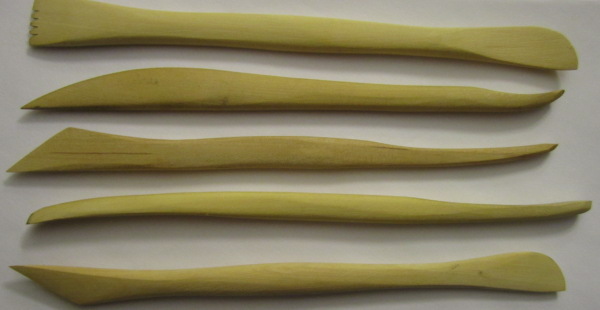
In this video, taken at Worlds, you can see that Ohkubo’s shaping tool is quite different. The technique is the same, however. I place the card I’m shaping face-down on a semi-soft surface, then press and rub one of the tools into the back to create the desired curve. (By the way, I’m still looking for more pictures and videos of Ohkubo’s work, so if you come across any, send them my way!)
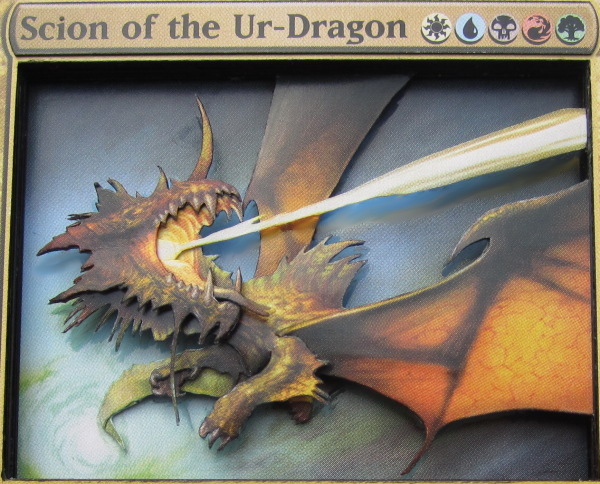
On the Scion, I added some curve to many of the pieces. It’s most noticeable in the wings and the face.
Finishing Up
The curvature of the wings and other pieces means that I need to use different spacing than I did in the original version of Scion. The back wing is curved around itself and also bent forward so that the top of the wing is near the background and the leg is farther forward. This means it needs more space between it and the body layer.
The finished stack looks like this:
| Bottom Layer: | Painted Background |
| Layer 2: | Spacer 1 |
| Layer 3: | Spacer 2 |
| Layer 4: | Spacer 3 (with Scion’s tail) |
| Layer 5: | Scion: Rear wing and leg |
| Layer 6: | Spacer 4 (with Scion’s arm) |
| Layer 7: | Spacer 5 |
| Layer 8: | Spacer 6 |
| Layer 9: | Spacer 7 |
| Layer 10 | Spacer 8 |
| Layer 11 | Scion: Body |
| Layer 12 | Scion: Wing and energy bolt |
| Layer 13 | Gold border with art and text box removed |
| Layer 14 | Black border and info boxes raised |

While I like the changes to my process, using more basic layers does have some advantages. The cutting is often more time-consuming, but it also can be easier since there is less planning required. You simply cut out the farthest-back part of the art over and over until you run out of stuff to cut out. It can lead to a more stable finished product since more of the art is attached to the border of the card—instead of relying on glue to hold all of the pieces together. Finally, though I prefer how my cards look with fewer basic layers, some people prefer the look of repeated layers.
Which style do you prefer—one of the methods I talked about today, or something completely different? Whichever you prefer, I encourage you to try making a 3D dragon today!
Drew Sitte
AlteredCity at gmail dot com
@AlteredCity on Twitter