


When I set out to make cEDH decks with a more casual approach, I realized fairly quickly it was a fool's errand. As I've explored cEDH more, I've realized most of it is based on assembling a combo, often a particular one with specific cards that have no functional reprints, and does so using very fast mana and efficient tutors.
I suppose one could create the same combo in a deck with less efficient mana and tutors (Worn Powerstone instead of Sol Ring, Sidisi, Undead Vizier instead of Demonic Tutor), but that just seems like a bad version of a cEDH deck which won't make anyone happy. (The deck won't compete at cEDH tables and will create the kind of game casual tables work hard to avoid.)
So, I've had to pivot, and instead, I've attempted to make a fun deck that nods to the cEDH version but plays on its own merits. Today's deck, though, proved to be a challenge.
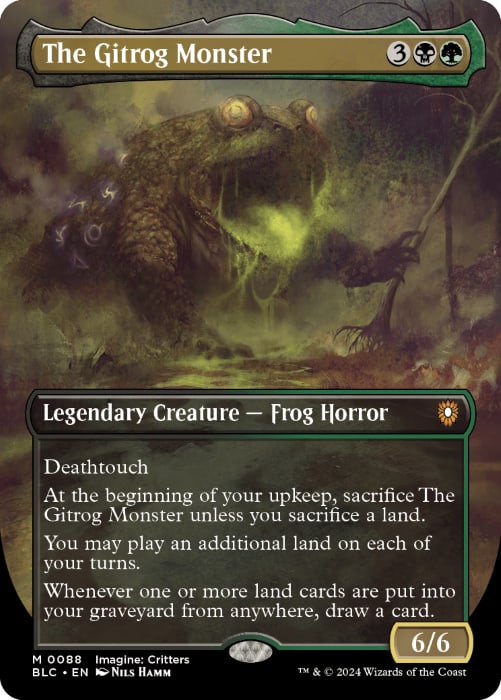
I remember when this guy came out. There was all this buzz, and I didn't get it. (This is why I'm not, and never will be, a competitive Magic player.) I love mana, hate sacrificing Lands, generally don't like sacrificing my own stuff, and had a difficult time seeing how to turn a five-mana 6/6 with Deathtouch into a winner.
The cEDH community, however, did, utilizing Dakmor Salvage, a discard outlet, and The Gitrog Monster, combined with a couple of spells which shuffle back into the Library when they go to the Graveyard. It's complicated and frankly I don't understand it well enough to explain it (there are good primers out there, if you're curious), but ultimately you end up drawing most, if not all, of your deck, then creating infinite mana and winning with Finale of Devastation or some other method.
This was, like the previous entries, not conducive to a more casual approach. Instead, I decided to lean in on the value engine, running enough Lands to mostly keep up with the Monster's sacrifice requirement, keep cards flowing, and win with value on the Battlefield.
The Gitrog Monster | Commander | Mark Wischkaemper
- Commander (1)
- 1 The Gitrog Monster
- Creatures (15)
- 1 Colossal Grave-Reaver
- 1 Dryad of the Ilysian Grove
- 1 Elvish Reclaimer
- 1 Eternal Witness
- 1 Lasyd Prowler
- 1 Perennial Behemoth
- 1 Rampaging Baloths
- 1 Ramunap Excavator
- 1 Sakura-Tribe Elder
- 1 Scute Swarm
- 1 Six
- 1 Springbloom Druid
- 1 Titania, Protector of Argoth
- 1 Titania, Voice of Gaea
- 1 Uurg, Spawn of Turg
- Instants (12)
- 1 Abrupt Decay
- 1 Assassin's Trophy
- 1 Beast Within
- 1 Constant Mists
- 1 Deathsprout
- 1 Drag to the Roots
- 1 Entish Restoration
- 1 Harrow
- 1 Noxious Revival
- 1 Putrefy
- 1 Roiling Regrowth
- 1 Tear Asunder
- Sorceries (17)
- 1 Casualties of War
- 1 Crux of Fate
- 1 Culling Ritual
- 1 Cultivate
- 1 Farseek
- 1 Formless Genesis
- 1 Gaea's Blessing
- 1 Kodama's Reach
- 1 Life's Finale
- 1 Maelstrom Pulse
- 1 Monstrify
- 1 Rampant Growth
- 1 Regrowth
- 1 Scapeshift
- 1 Splendid Reclamation
- 1 Will of the Sultai
- 1 Worm Harvest
- Enchantments (2)
- 1 Oblivion Crown
- 1 Undergrowth Recon
- Artifacts (3)
- 1 Conduit of Worlds
- 1 Crucible of Worlds
- 1 Hedge Shredder
- Lands (50)
- 5 Forest
- 3 Swamp
- 1 Argoth, Sanctum of Nature
- 1 Ash Barrens
- 1 Bad River
- 1 Barren Moor
- 1 Blighted Woodland
- 1 Bojuka Bog
- 1 Command Beacon
- 1 Command Tower
- 1 Cryptic Caves
- 1 Crystal Vein
- 1 Dakmor Salvage
- 1 Demolition Field
- 1 Drownyard Temple
- 1 Echoing Deeps
- 1 Emergence Zone
- 1 Escape Tunnel
- 1 Evolving Wilds
- 1 Exotic Orchard
- 1 Fabled Passage
- 1 Ghost Quarter
- 1 Grasslands
- 1 Jungle Hollow
- 1 Kishla Village
- 1 Lotus Field
- 1 Mountain Valley
- 1 Necroblossom Snarl
- 1 Nurturing Peatland
- 1 Polluted Mire
- 1 Reliquary Tower
- 1 Riveteers Overlook
- 1 Rocky Tar Pit
- 1 Rogue's Passage
- 1 Slippery Karst
- 1 Temple of Malady
- 1 Temple of the False God
- 1 Terramorphic Expanse
- 1 Tranquil Thicket
- 1 Twilight Mire
- 1 Undergrowth Stadium
- 1 Urza's Cave
- 1 Woodland Cemetery
- 1 Woodland Chasm
Those of you who read my column know my go-to is 40 Lands. But when you talk about The Gitrog Monster, you know the normal amount won't work. Here, we've got 50 - and I'm not convinced it's enough. Because of the sheer volume of Lands the deck sacrifices, it's possible you want a more-than-50% amount to keep the engine running well.
In an attempt to get the Monster out a turn early, we've also got a few ramp spells, mostly leaning into the Harrow model - sacrifice a Land to get more Lands. Normally I prefer a good Cultivate (which is here too), but in this case, Harrow is valuable later to draw us a card when the Monster is out. And of course our Lands do a good job of fixing our color requirements, but we also have a number of self-sacrificing Lands like Fabled Passage and Crystal Vein, which we can leverage for more cards later.
Our draw comes exclusively from the Monster, so make sure to mulligan aggressively for a Hand that looks like it'll get you to the Monster. Once it's out, building mana shouldn't be too hard and recasting will be less difficult, but getting to that original cast is key.
Aside from riding The Gitrog Monster to Commander-damage victory, the other obvious ways to win the game are with Rampaging Baloths or Scute Swarm. Once the deck gets rolling, a lot of Lands are moving in and out of the Battlefield every turn, and if a token is being generated every time, that can get out of hand pretty quickly. That doesn't mean a Colossal Grave-Reaver or Uurg, Spawn of Turg can't get there, though. Once your base is set up, let your cards guide you to your line of attack.
A number of point removal spells, like Assassin's Trophy or Casualties of War, do a good job of dealing with particular threats, while a couple of blow-up-the-board spells give us a reset if we need it.
There are several spells in the Crucible of Worlds vein here, allowing us to get our Lands back from the 'yard. This is a worthwhile effect, but don't play out more than one in case it gets destroyed. More than one is always redundant.
We also have a few Regrowth effects like Eternal Witness and Noxious Revival to buy back key cards. I can see a lot of value in recasting Scapeshift or Hedge Shredder.
Since the Monster wants us putting Lands in the 'yard, we may as well care about that more. Titania, Voice of Gaea and Titania, Protector of Argoth both care, as does Colossal Grave-Reaver. Several of our spells count the Lands we have in our Graveyard, like Uurg. Additionally, we have a couple of spells with Retrace, like Worm Harvest, which is kind of wonderful in the right situation. Six, which gives all our nonland Permanents Retrace, can also be part of a fairly impressive engine should the situation align. Then there are the Landfall cards, both of which have already been named but either of which can get out of hand rather quickly if left unchecked.
Finally, we do have a way to actually achieve the cEDH combo. Dakmor Salvage is here, the only irreplaceable part to the whole thing aside from the Monster itself. For a sacrifice outlet, I went with Oblivion Crown; the thought here is this is a valuable card even without the combo, since we can stick it on the Monster or another threat and discard Lands to draw cards and buff up the threat. Then to make sure we don't deck ourselves, we have Gaea's Blessing.
If I understand it, this gets you to a place where you can draw as many cards as you'd like. However, I believe there must be other cards involved to do something like generate infinite mana or deal infinite damage. I'm guessing if you'd drawn like 85 cards you can probably figure something out. If you decide to go for the combo, make sure you've figured out how it works and can explain it to the rest of the table. Maybe explain it to me, too, though I am not sure I really care very much.
This deck should be fun to play and not feel bad to play against. If you hit the combo, it's sheer luck, so it's unlikely to be early and shouldn't feel too bad. If you've ever wanted to give The Gitrog Monster a try in casual circles, this could be a great starting place!
Thanks for reading.