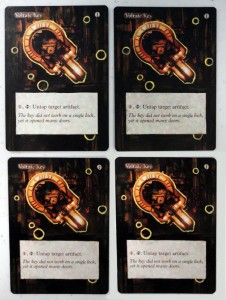
When I choose a card to work on for an article I try to find a card that isn't too expensive (usually in the $5 or less range) and, more importantly, a card that sees play in multiple formats (usually Standard and Legacy). This week I'll be working on a card that sees Legacy play, is a staple in the Vintage format, and is sure to find it's way into many of your Standard decks shortly- Voltaic Key.
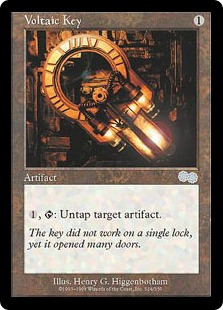
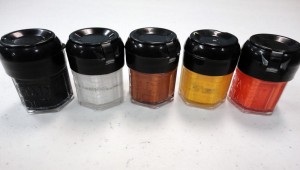
Looking around the edges of the background on the Urza's Saga edition Key, one thing is immediately obvious- it's dark. Really dark. This means we'll be covering a lot with just black, but it also means the lighter pieces we paint will stand out more than usual. The acrylic paints we'll be using are black, white, rust brown (burnt sienna), yellow and orange (I use Citadel acrylic paints, the color names are Chaos Black, Skull White, Vermin Brown, Blazing Orange and Golden Yellow).
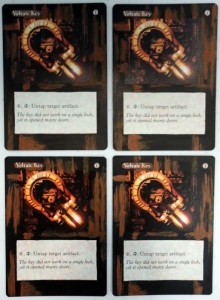
I'm going to start out by taking my medium-small sized brush (remember to keep your brushes slightly moist with water while painting!) and simply painting black over the entire border. When painting cards with old style borders, I paint around the casting cost (this is important for legality) and usually leave a box around the name of the card. After that I'll take my small brush and even the box around the text, round its edges, clean up around the casting cost.
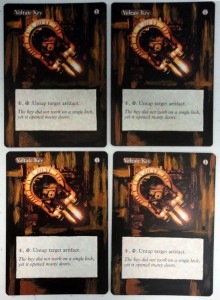
For the background machinery details I'm going to start with a rust brown color (I use Citadel's Vermin Brown). I'll use my trusty ratty brush and keeping it dry, drag the rust colored paint making some vertical and horizontal shapes, mimicking the shapes that are already there. We want to be sure our drybrush strokes cover most of the border between the black we painted and the unpainted part of the picture on the card. This trick helps us achieve that seamless look. Since we're painting a lighter color onto black, you may have to go over your strokes a couple times.
Next I'm going to do some highlights for the rust-colored machinery we just painted. I'll mix a tiny bit of orange (Citadel Blazing Orange) into yellow (Citadel Golden Yellow). I'll pick that color up with my ratty brush and apply it to a few of the spots on my rust that are near highlighted areas in the original artwork.
Now, to make our machinery convincing, we need to give it a few hard edges. I'm going to do this by continuing some black lines from the original artwork with my small brush, and adding some of my own lines and square shapes into the rust streaks I brushed on.
You can see that what we've painted still stands out a lot. Take your ratty brush once more, and pick up a little black. Brush most of the black of onto a paper towel, and drybrush some black back into your machinery. If you've brushed enough paint off, you should have to apply extra pressure to get any paint on the card. Brush quick firm strokes in random directions, this will make our machinery look worn and more realistic.
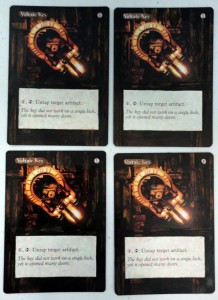
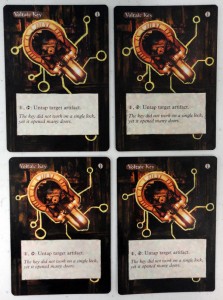
For our final touch we'll need a light yellow. Mix some yellow (Citadel Golden Yellow) into white (Citadel Skull White). With your small brush paint an outline around the Key itself, and then paint some small circles in a few spots on the card.
To finish draw lines from the outline of the Key to the circles, mimicking a simple circuit board pattern like so:
And we're done! Sign and date your work if you like, and be sure as always to seal it with an acrylic spray sealant.
I get asked a lot of questions about my alters, materials, etc. and Magic in general. I'm hoping to do a ‘Question and Answer' article in the near future. If you have a question you'd like me to answer, or a suggestion for a card you'd like to see altered, leave it as a comment on this article, or email it to me at adam@jupitergames.net , and you may be included in the article!


