Note: You can click on most pictures in the article to view a larger version of the picture.
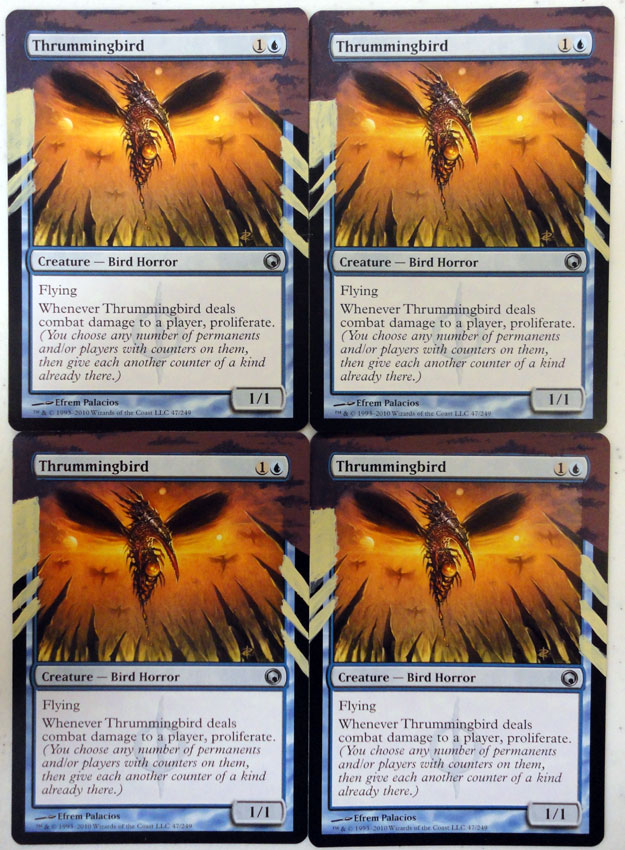
I've been thinking for a bit about what card to alter for this article, and when I finally decided, I learned something about myself that I knew deep down inside, but wasn't ready to admit - I love weenies! Specifically weenies with great abilities. If you've been reading this column for a bit, you may have noticed the pattern before I did. Aside from Emrakul, the Aeons Torn, the curve for my projects has started at 0 (Memnite) and topped off last time at 3 (Tempered Steel). Not surprising, considering my favorite creature in all of Magic is Noble Hierarch (I dare someone to argue with me…). This time we'll be working on Thrummingbird, another weenie with a sweet little ability. While we're working, think of ideas for some big monsters or finisher spells (remember- Mirrodin Besieged is coming!) to work on in the future.
Note: For anyone new to this article, I'll be using Citadel acrylic paints. These paints come in a HUGE range of great colors, and dry extremely flat on the cards. You can find them at any hobby store. I include the names of the colors that I use for each section in parentheses.
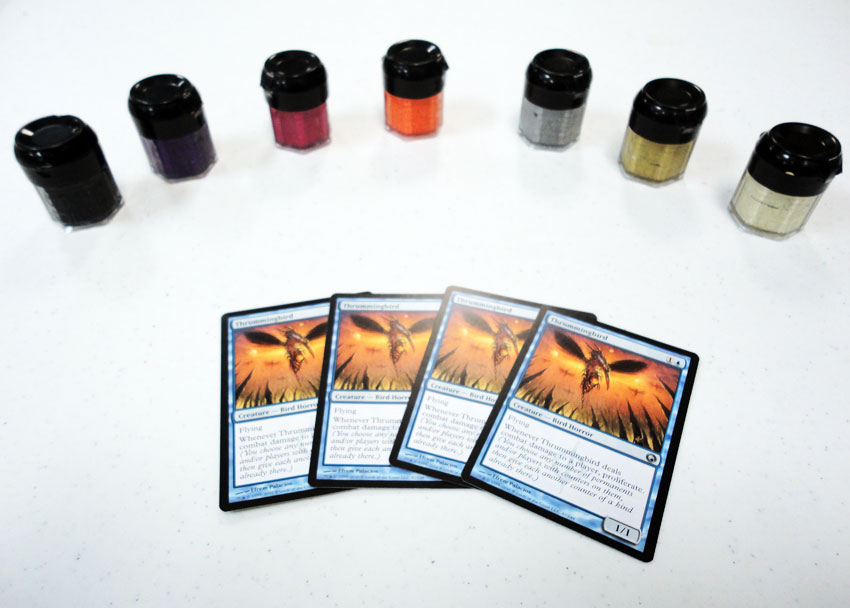
The Citadel colors I'll be using are Chaos Black, Liche Purple (a deep vibrant purple), Warlock Purple (almost a dark fuchsia color. I'm thinking I'll use it for highlights in the clouds, but I may end up not needing it at all. Don't panic if you don't have a fuchsia color, or if you can't remember how fuchsia is spelled. You may never need either.), Blazing Orange (just a standard bright orange), Codex Grey (a medium gray, if you're American), Desert Yellow (a mustard brown color) and finally the ever-handy Bleached Bone (beige).
I think I'm going to start by underpainting beige (Bleached Bone) between the spikes of the razorfield on each side. This will make painting transparent orange haze more opaque, and also allow us to plan the shape of the extended spikes. I'll paint a few coats to get my underpainting nice and opaque.
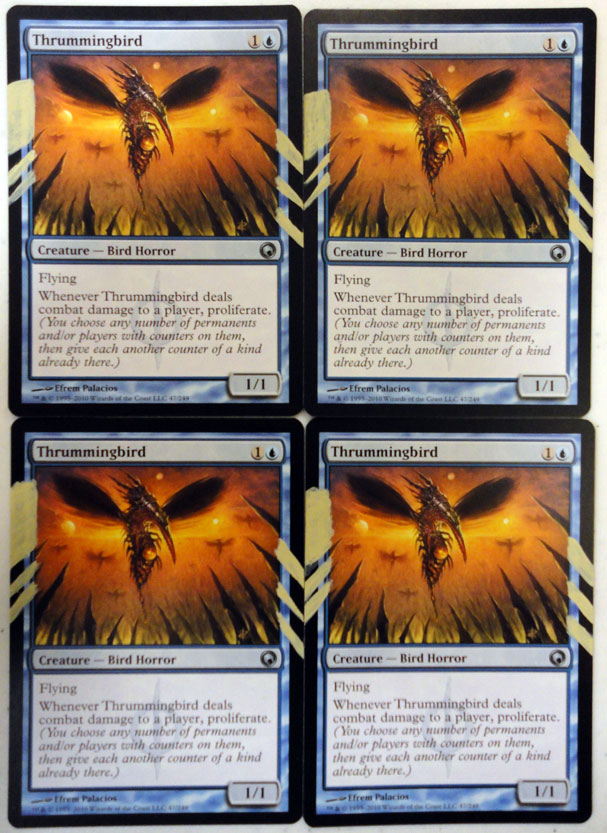
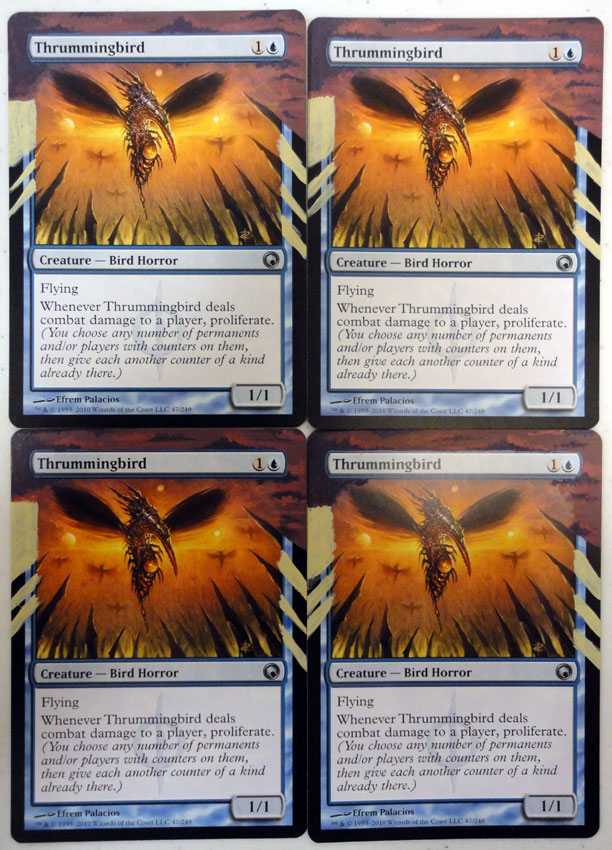
Now I'll start color with the clouds. I'll mix a bit of purple (Liche Purple) into gray (Codex Grey). When I get my color where I think it should be, I always take a sliver of it on the tip of my palette knife and hold it close to the picture to compare. When I do that with the purple, I realize that the orange haze of the sunset is actually IN the purple of the clouds. I'll take a little sample of my purple mix, move it to another spot in my painting cups, mix a little orange (Blazing Orange) in, and see what it looks like. Sure enough, it matches. So I'll add some Blazing Orange to the rest of the purple/gray mix.
Since there's a lot of gray (which is very opaque) in this mix, I don't need to worry about painting beige underneath. I'll just paint purple from above the top spike on the right, around the top border, and down to the beige of the left.
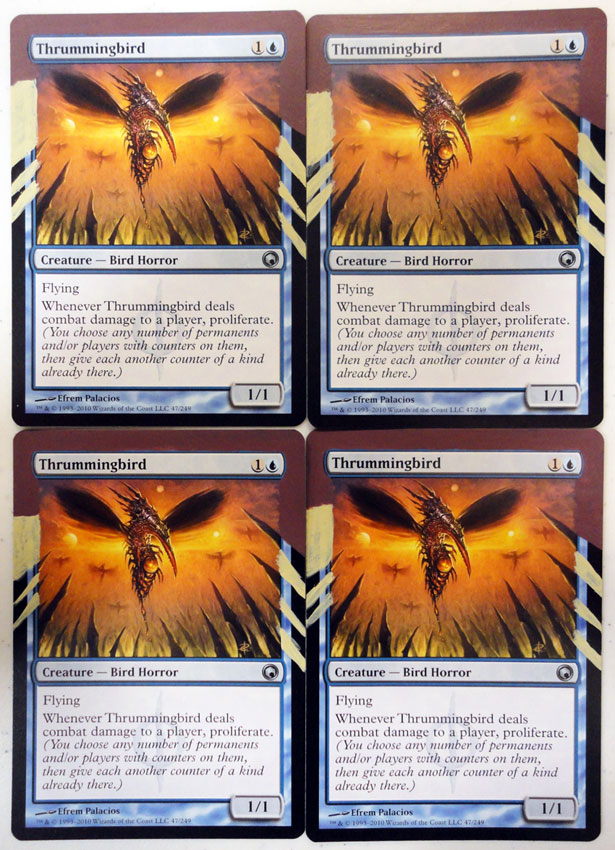
For shadows to give some dimension to our purple haze, I'll just mix up my original purple/gray color again, this time instead of the orange, I'll add a TINY bit of black. Looking at the original picture, I'll follow pattern of the shadows. Since I have some extra time today, I'll go into a little more detail than I normally do.
Next I'll mix orange (Blazing Orange) and light purple/pink (Warlock Purple) and beige (Bleached Bone) into gray (Codex Gray) and paint in the orange highlights of the hazy sunset.
Once I'm happy with the clouds and sunset, I'm going to mix my dark yellow (Desert Yellow) black (Chaos Black) and a little orange (Blaze Orange) to make a dark brown, and paint the spikes in. From a technical painting perspective, I should paint the orange field in first and paint the dark spikes over top, but I'm expecting the fields to take a little more thought and detail, so I'm finishing the easy spikes first. Once they're on, I'll blend some purple (Liche Purple) with the brown mixture for the top couple spike on the left which are reflecting the sunset a little, and black on the spikes on the bottom right and left. Then I'll take my Desert Yellow and paint a line of highlight on the inside edge of each of the spikes. I'll use that color to color in between the bottom two spikes on the right. Then I'll paint a couple small black spikes to fill that area.
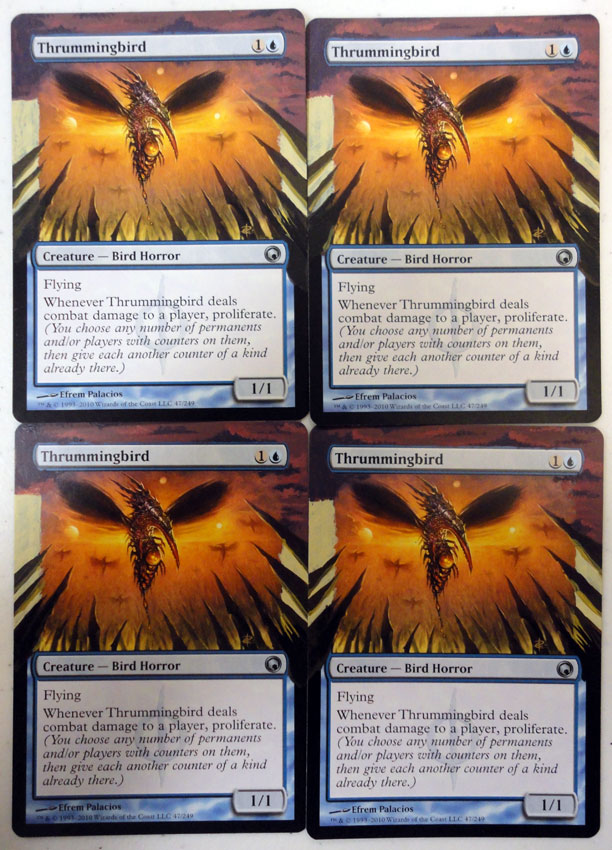
Now I'll work on the fields. I'll mix the brownish yellow (Desert Yellow) into some orange (Blazing Orange), and paint between the spikes. When I like what I see, I'll add a little Liche Purple to my orange mixture and add a cloud in the orange sky on the left. Then I'll go ahead paint black around the rest of the border on the bottom.
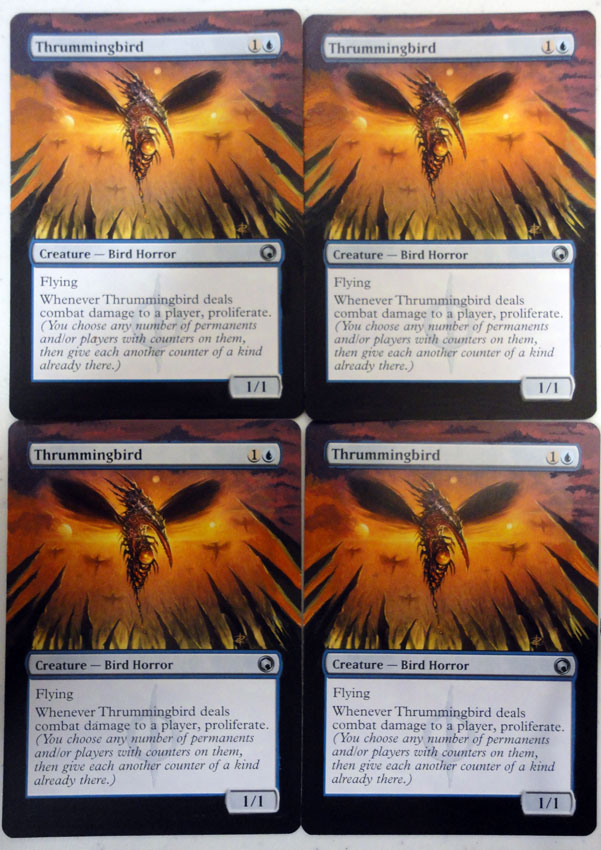
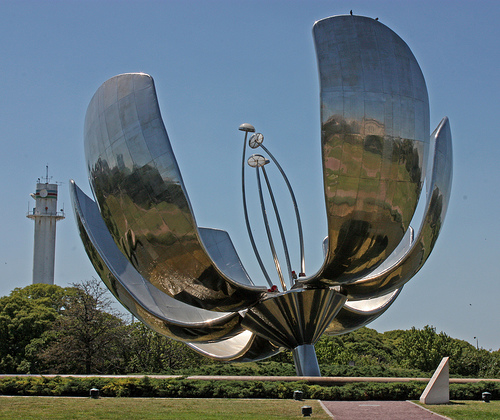
If you want to stop here you can. I'm going to paint in a flower, using Eduardo Catalano's sculpture Floralis Generica (located in Buenos Aires) as inspiration/reference. The enormous mechanical flower opens closes every evening, and opens in the morning.
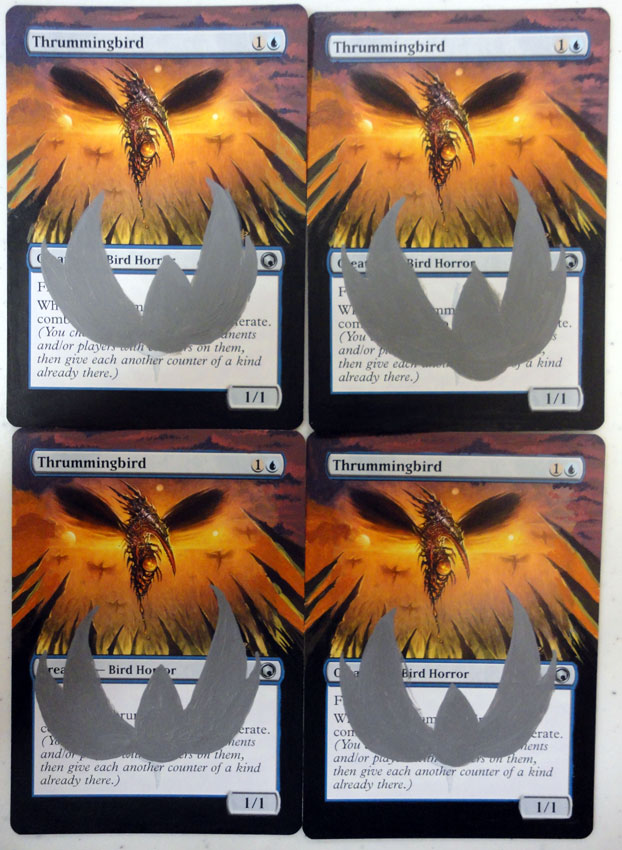
I'm going to use Codex Grey to outline the shape of the flower and fill it in.
Then I'll make my gray/purple/orange mix again, and paint the tops of the petals. When that's dry I'll paint black on the bottom of the petals, and add some black lines for texture (think Lotus Bloom), and a black stem.
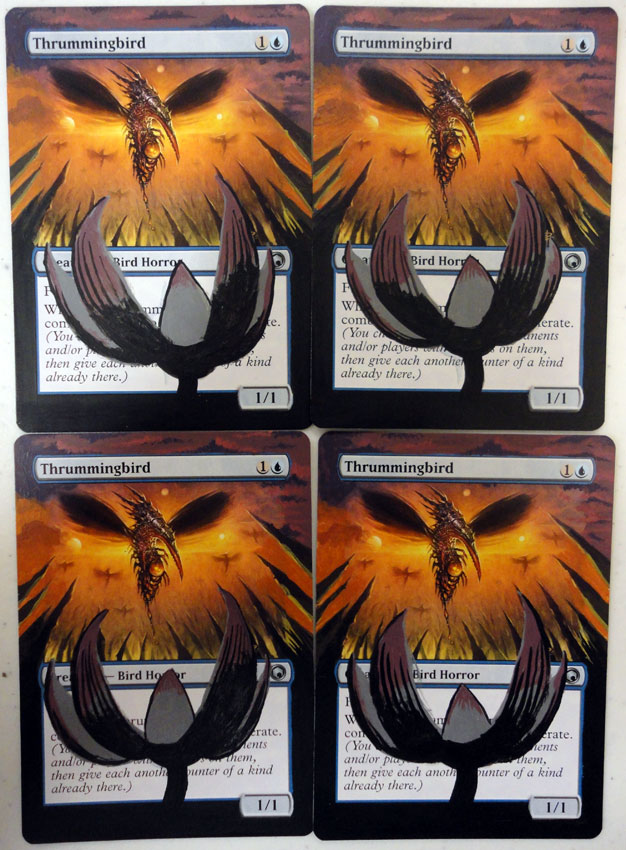
After that I'll mix my Blazing Orange and Desert Yellow again, and paint the inside of the petals with that.
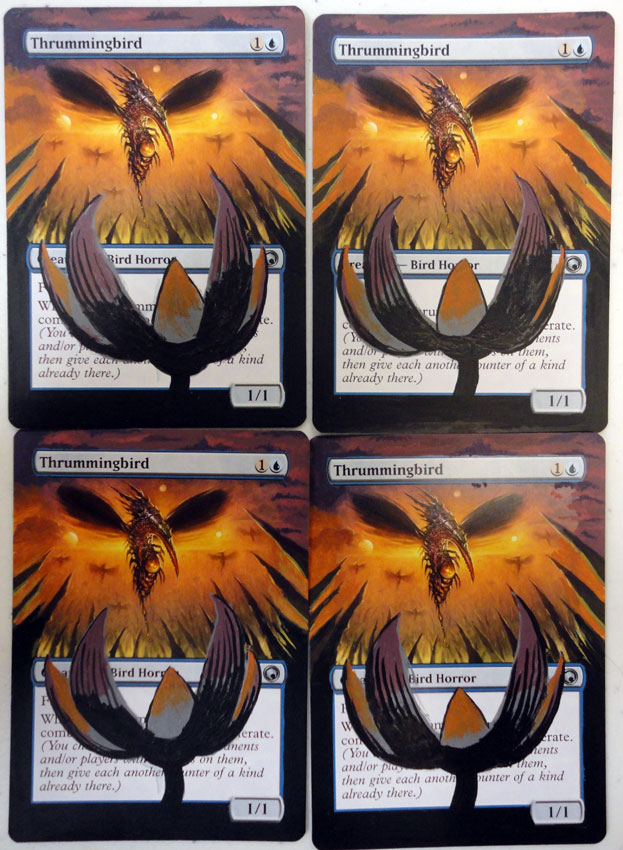
And finally I'll paint in the stamen with black, and then highlight those and the edge of the petals in straight Blazing Orange.
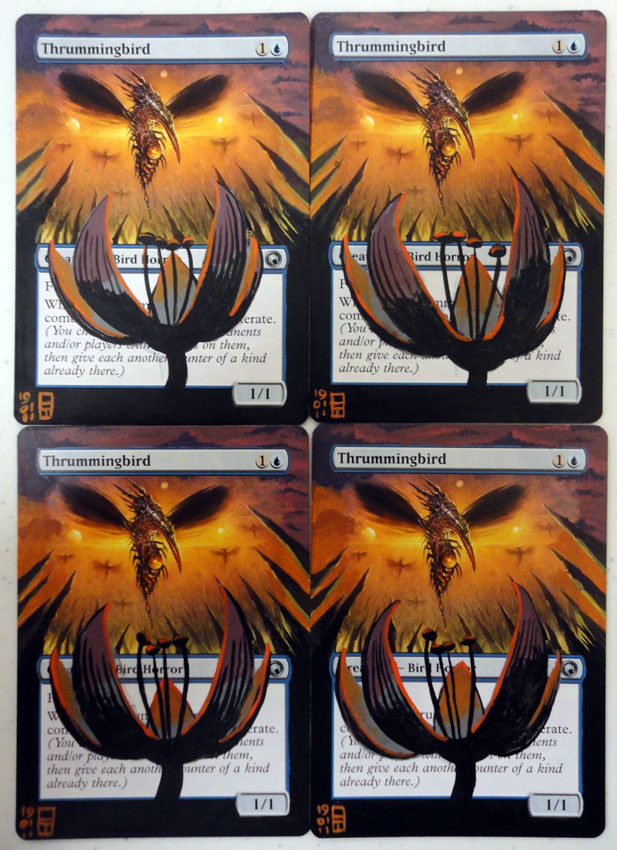
Finished! Sign, date and seal your cards with a spray acrylic sealant. Now you can proliferate in style!