


Hello and welcome to my very first article here on ManaNation.com—I hope the first of many! My name is Eric Klug and I've been playing Magic since the release of Urza's Destiny. I earned a Bachelor of Fine Art in 2008 and spent a brief period thereafter working in graphic design. About three years ago, I started altering cards as a hobby—painting cards for friends for the fun of it. Last August, I came home from a year of teaching abroad in South Korea. As I wasn't sure where to find a job here in the States, I went back to altering as a part-time gig to earn a little extra cash. In January, altering was becoming more and more lucrative, and I made it my full-time job. Starting a business that combines my two loves in life, art and Magic, has been one of the best decisions I've ever made.
I am writing now to lend further insight into the world of altering. Lately, I've been gaining fame—or notoriety?—as a comic alterer. There have been several writers of alter tutorials in the past, but few if any have shown how one goes about producing a comic alter. Today, that's what I plan to do.
Before we jump into the step-by-step process, here's a list of supplies I use on an everyday basis:
- ScotchBlue Painter's Tape
- HB pencils
- 0.1mm Sakura Microperm pens
- wooden toothpicks
- Golden Fluid Acrylics
- 2/0 or 1 size round acrylic brushes
- Kylon Matte Finish
Obviously, a lot of these materials are interchangeable, but the above brands have achieved the best results for me. I don't buy super-expensive brushes, as it's hard to keep small, delicate brushes in good shape for very long anyway.
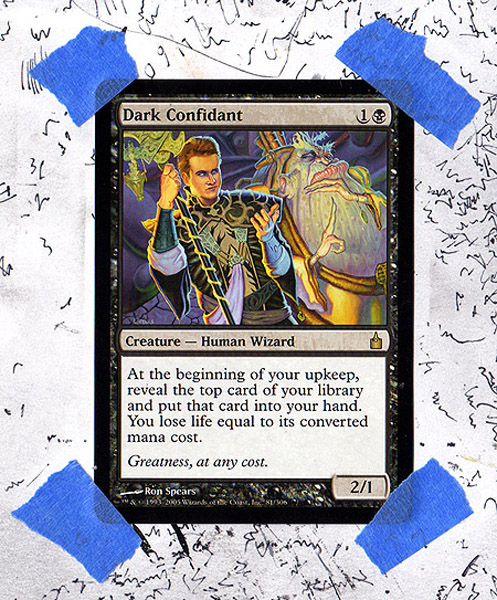
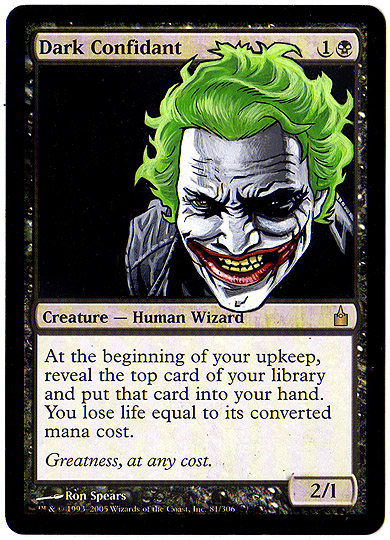
Today, I'll be showing a Dark Confidant that was commissioned to have Lee Bermejo's Joker on it. The first step I took was to find a good reference for the card and produce a mockup to work from. I went with this image. I then took the picture into Photoshop and pasted the part I wanted over a Dark Confidant scaled to the size of a Magic card (63mm × 88mm):
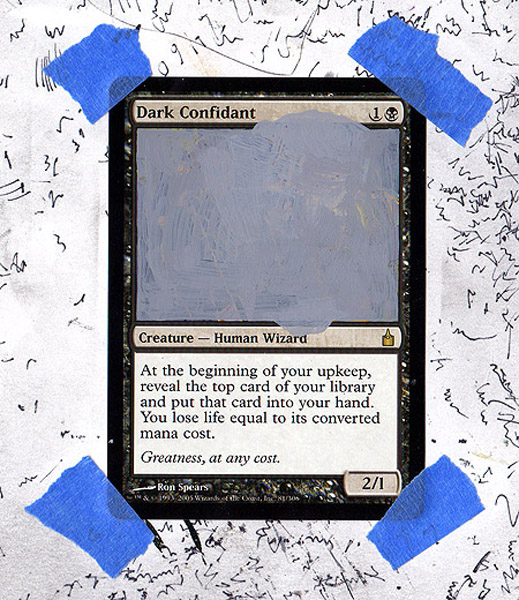
This way, I can print the image out and have a perfectly proportioned image to work from, and/or carbon-transfer the image onto the card directly. While any image is easily replicable given the proper time, it's not always prudent to do so. In this case, I primed the card with a gray acrylic and transferred the image using a carbon-copy method. This is where you coat the back of the printed image with heavy graphic and trace the image onto a primed surface. A lot of people scoff when they discover the secret to this “magic trick,” but honestly, do you ever blame the chef for not churning the butter himself?
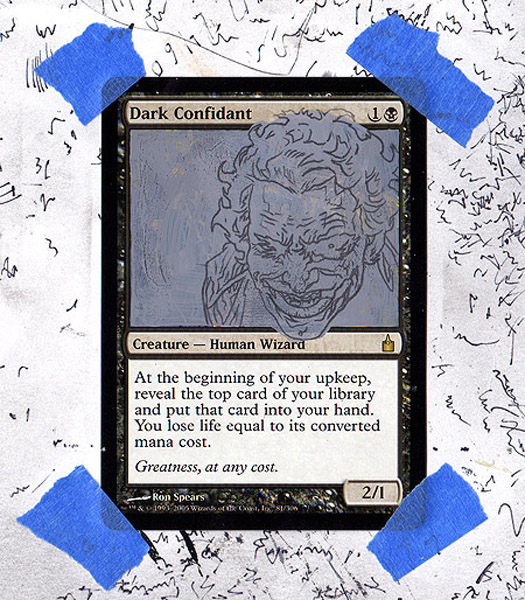
Note that after the pencil is laid down, using a toothpick, I gently scrape away any excess primer that overlaps the picture frame. The next step involves going over the pencil lines with ink to make them easier to see while working, and so that they show through transparent layers of paint (I'll speak about this later). I also find that an extra inking stage at the beginning helps to produce bolder, more graphic pieces.
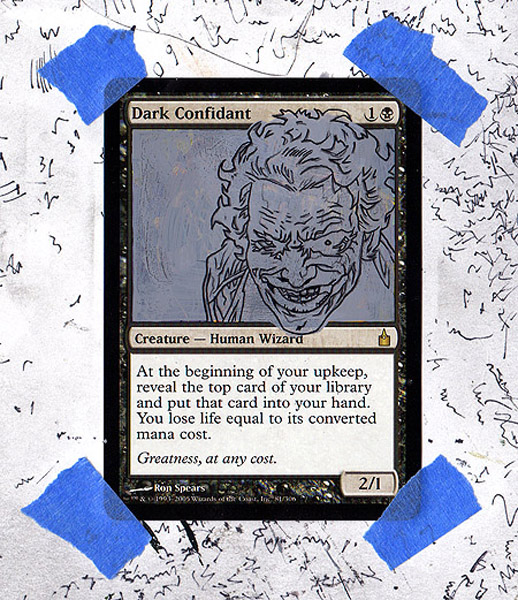
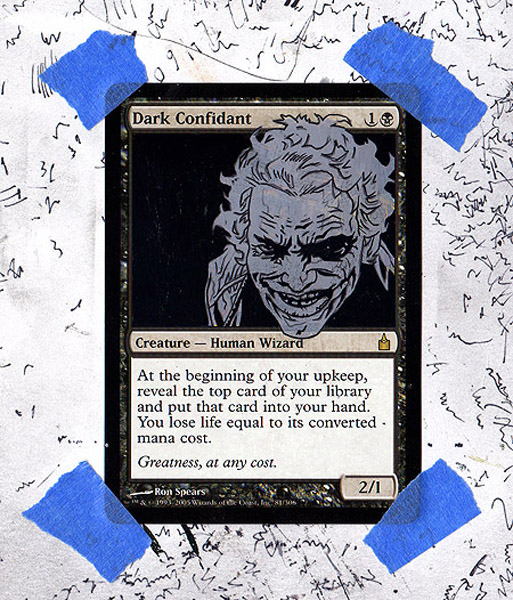
I planned this piece to have a lot of black in it, so I dedicated a step entirely to painting in the blacks. This made it easier to discern what parts were going to be actual color for the final version. It's important to note that you shouldn't be a slave to your method. There are often different steps for different projects.
It's time to come in with color. I like to start off with a mid-range tone for everything. This helps shadows and highlights pop once I get to putting them in. It also gives me a further idea of what the card will look like when it's finished.
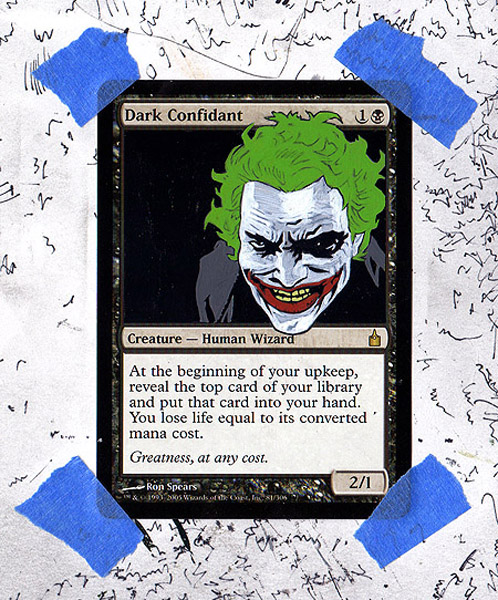
At this stage, I've varied the opacity of the paint in certain areas. This is what I mean when I mentioned the lines showing through transparent layers of paint. Here I still have a clear view of the lines in the hair and parts of the forehead. I've only painted very opaque layers in areas that will remain that color (or close to it).
Now I'm ready to continue with the shadows. I finished this stage, doing every single color, but really you can mix it up and finish all steps one color at a time. For purposes of this tutorial, it was easier to work the entire image at each particular step.
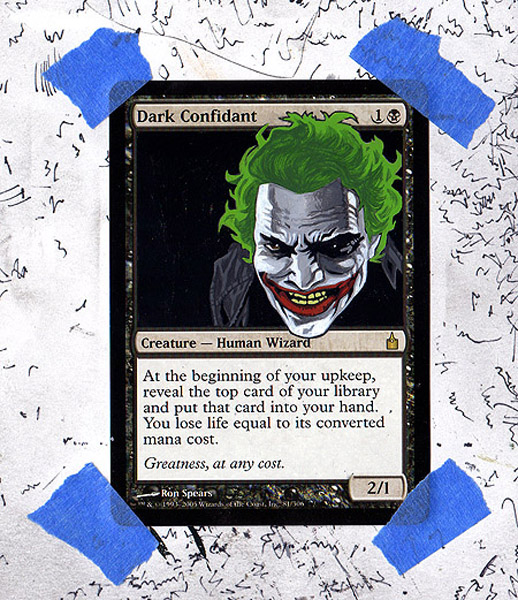
From here, I can move straight into highlights. I spent considerably more time on this step than any other. Toward the finish line of any work, you can really get into the fine details, tweaking all the little parts to make the work really stand out.
As you can see, I really punched up the hair to give it more volume. The highlights in general really gave this guy form.
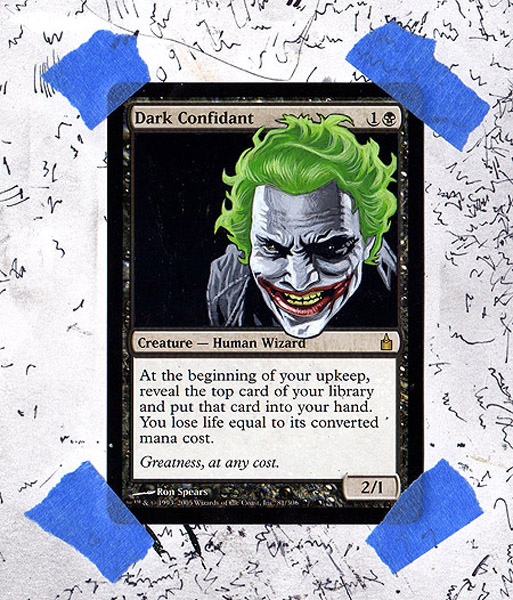
The last step, inking, is probably my favorite for different reasons. For one, it produces that bold, clean look inherent to most alters I do, but also it means I get to work on something new once I'm done. There's no real science to inking. It's part following the map that's already laid out on the card, and part checking the reference for any details you may have missed. Throw in any parts you'd like to emphasize and you're done (pending a protective spray coat):
Altering takes patience, but it's something that can be extraordinarily fun and rewarding. Painting for Magic has always been a dream in the back of my mind—and now I get to live that dream (only in a weird sort of way). I hope this tutorial is not only helpful to those who want to start altering, but also to those who are just curious about the process.
Thanks for reading, and feel free to contact me with questions or commission requests at:
eaklug at gmail dot com
@klug_alters on Twitter


