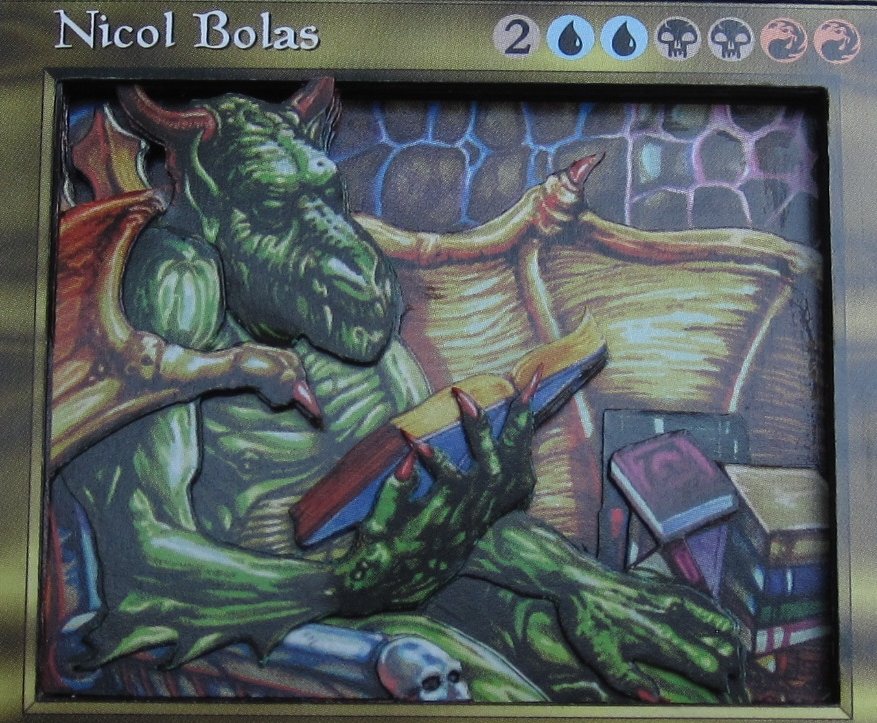
Whenever I play a game of Commander with someone for the first time, there is almost always a pause while they stare at whichever 3D Commander I’m using. After that, I often get asked a lot of questions, the most common of which is, “How do you do that?” As I showed in my last article, it’s not exactly a question with a short answer. Another common question I get is whether I’ve ever made a 3D planeswalker. So far, the answer to that question has
Last time, I demonstrated how to make a 3D Craw Wurm, one of the least expensive cards I’ve ever cut to pieces. For today’s article, I decided to go in the opposite direction by showing the construction of the most expensive 3D card I’ve ever made:
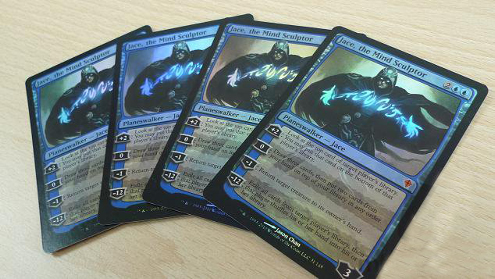
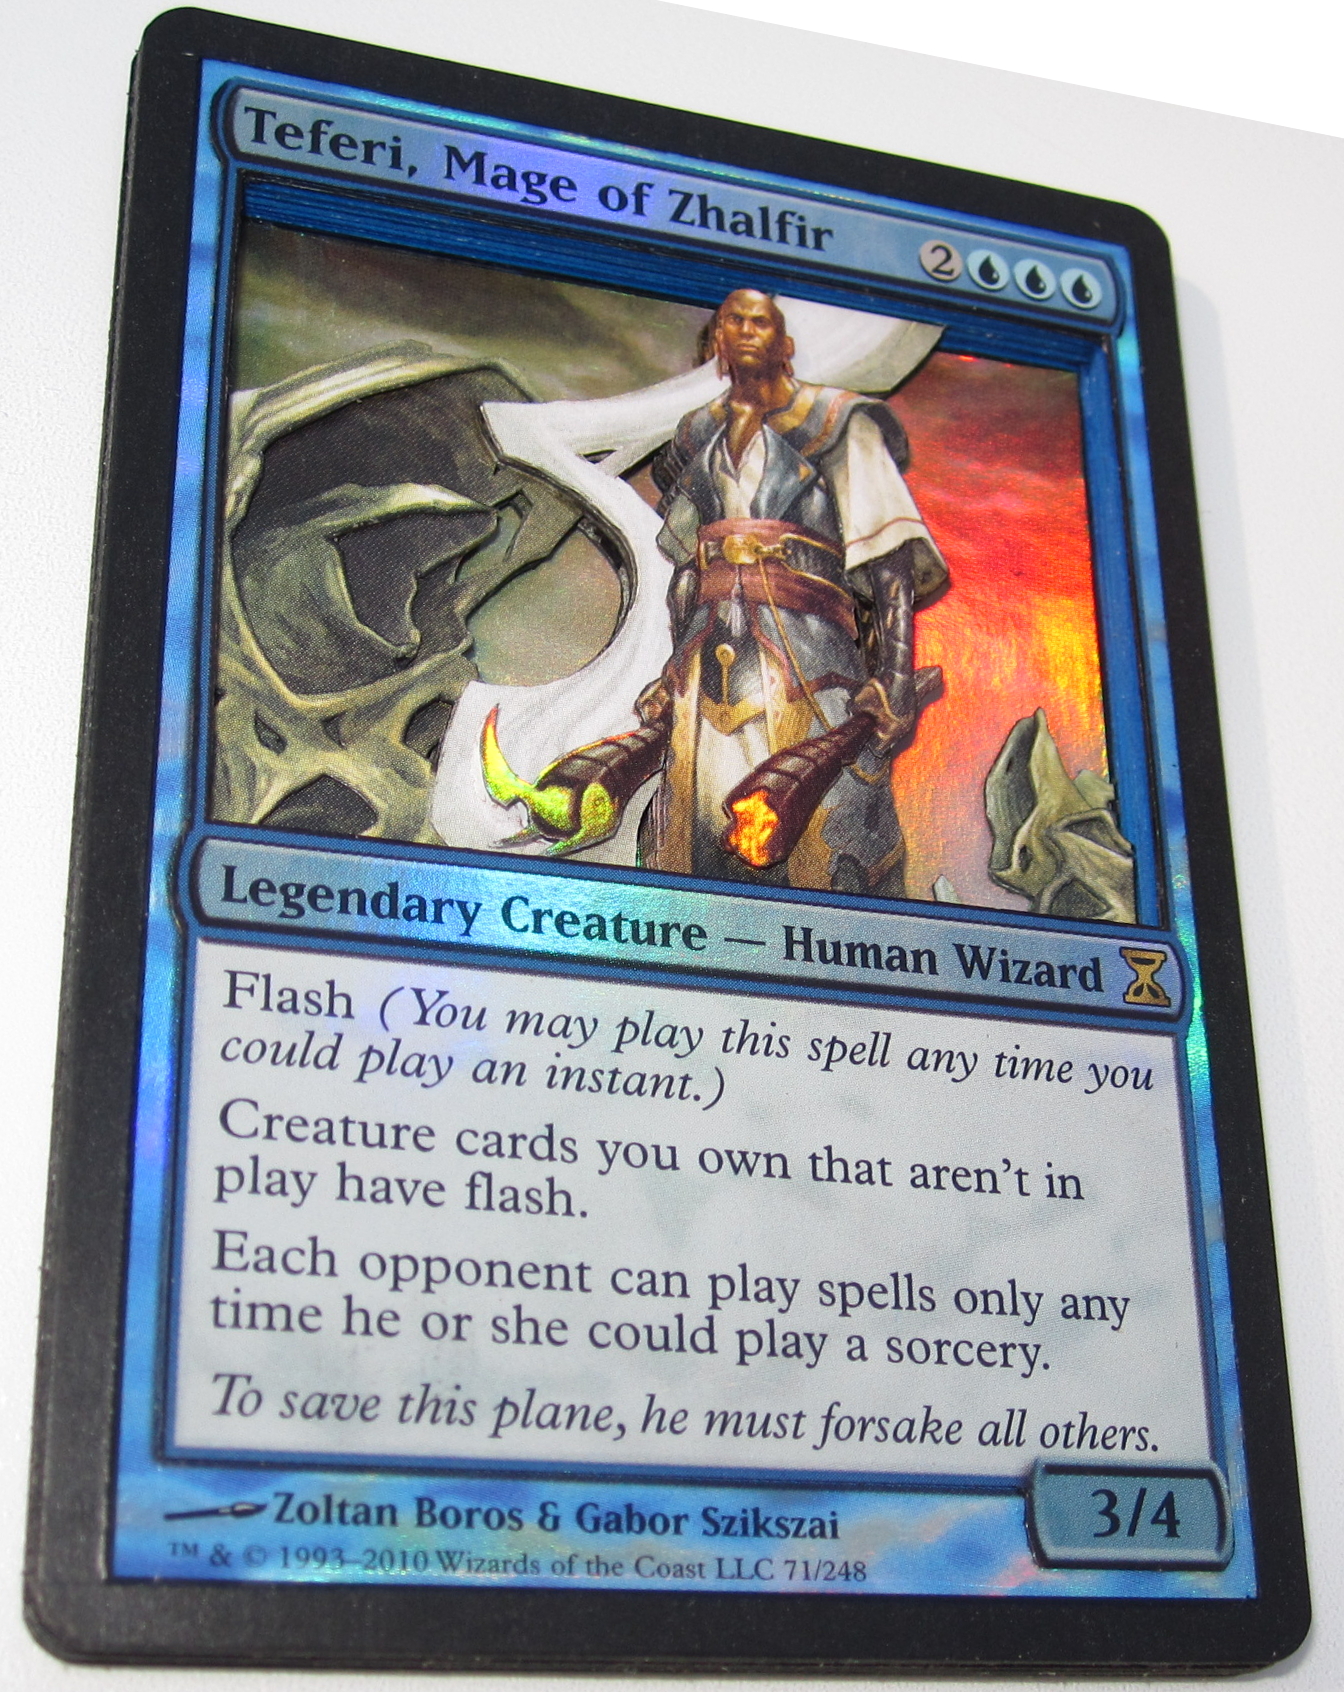
. . . Okay, maybe not. I’ve never even owned a single nonfoil Jace, the Mind Sculptor, let alone a pile of foils I’d be willing to cut up. I do, however, have a different Blue planeswalker ready to go:
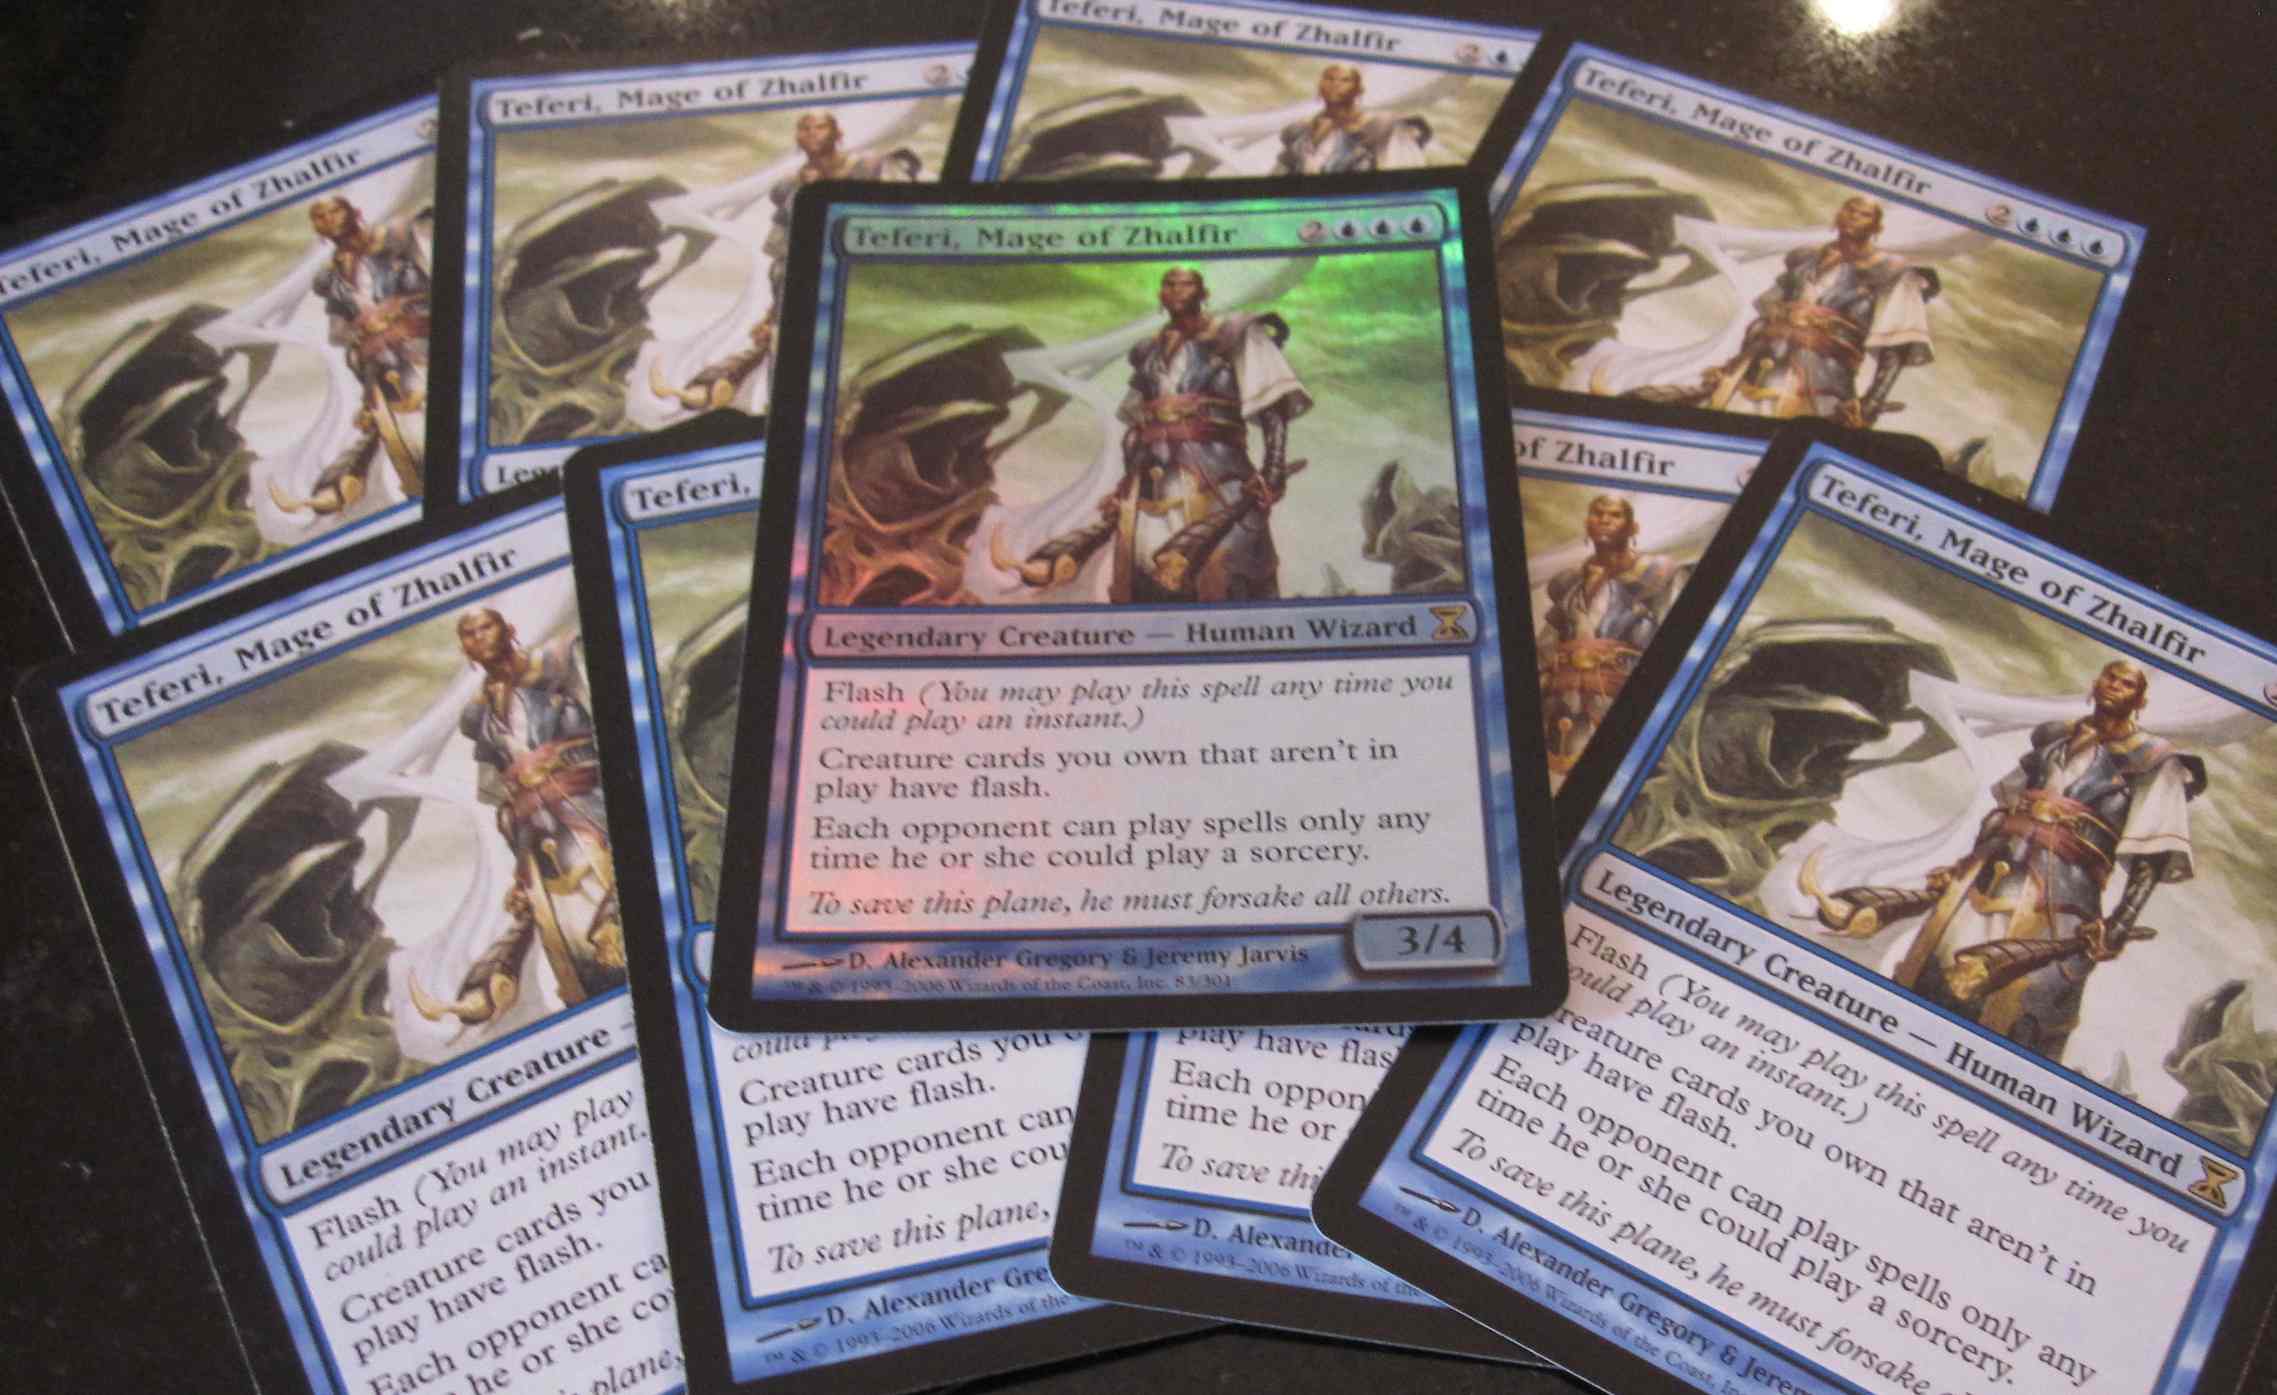
Enough copies of Teferi, Mage of Zhalfir to make a 3D Commander, with one foil copy to use for the background and information boxes. Unfortunately, I don’t have a plethora of extra copies to offer to send out to all of you like I did with Craw Wurm, so it’s less likely you’ll follow along on this exact card. However, I will be able to demonstrate some techniques and parts of my process that took me a long time to figure out, which I hope will give you a head start if you tackle similar challenges in the cards you choose.
When I sit down to 3D a card, I first stare at it for a while to determine how much work—and what type of work—I’ll be doing on the card. This includes:
- What are the basic layers? How many of these basic layers are there? For last week’s Craw Wurm, most of the work was in the layers.
- What detail work should be done? Detail work includes the cutting and weaving of smaller pieces like I did on the Craw Wurm’s head, plus various other techniques, some of which I’ll use on this Teferi.
- How much of the cardboard needed for this detail work can easily be “stolen” from further-back layers without being noticeable in the final product? Because Teferi is more expensive than most cards I work with, this question is especially important.
- Are there any major layers that cross each other? How will this affect both cutting and assembly?
This Horde of Notions is a good card to contrast with the Craw Wurm:

Whereas the Craw Wurm was almost entirely layers with just a bit of detail in the Wurm’s head, Horde is almost entirely small piecework. In addition, because of the perspective, I slanted the ground back so that the layer behind the tree has all of the animals standing on it and is also the background layer. You can see evidence of this slanting in the lower left corner.
Getting Started
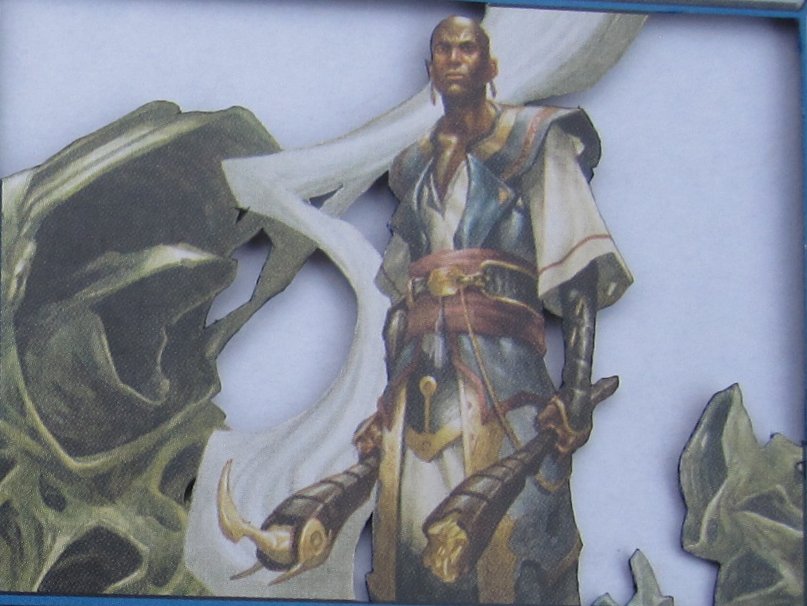
Take a moment to look at the art for Teferi and think about what the basic layers would be.

Here’s what I came up with:
Layer 1: Full art, as usual
Layer 2: Remove the sky
Layer 3: Remove the sky and left formations
Layer 4: Remove the sky and all formations
Layer 5: Remove everything but Teferi
Layer 6: Remove all the art
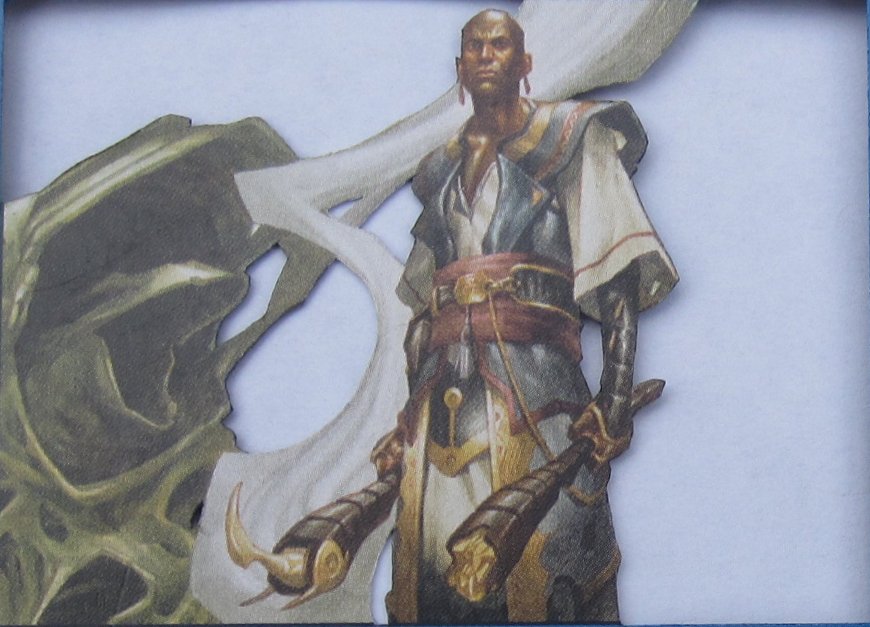
Next, I think about the detail work to be done. I want to do some amount of detail work on both of the formations, especially the larger formation on the left. There will be a lot of cardboard to use for those details in the scraps of Layers 4 and 5. Detailing Teferi is going to be tricky. There are hundreds of options for what to detail and what to leave alone; theoretically, all of his clothing could be detailed, but I think that will be too “busy” and end up looking worse. Minimally, I want to layer the wand/club thing (or whatever it is—hopefully some Vorthos/Spike will correct me in the comments) that’s in his left hand. Doing so will force me to do some detailing of that arm. I might end up detailing his right arm as well, but I’m not sure yet.
Enough thinking, though—time to start cutting.

Since I plan on using the art from the foil copy for the background but the borders for the top layer, I need a random common to be the actual back of the card; the foil art will be in the next layer up, surrounded by a spacer border.
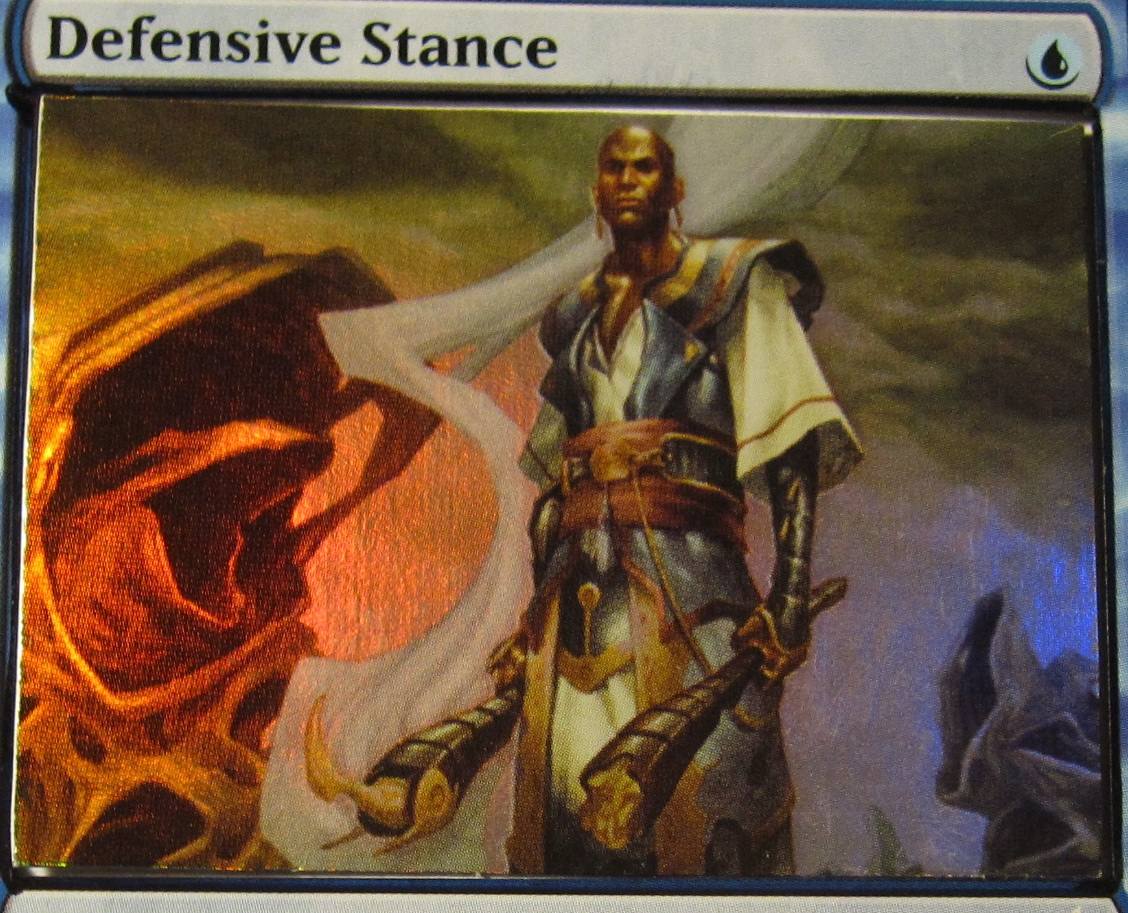
Because I only have one foil to work with, I decide to do the top borders differently from how I usually do modern borders. After removing the art, I remove all of the information boxes and the thin blue art frame in one piece. To have the card underneath be foil also, I grab a random Blue foil from my collection. Doing so changes the artist attribution and collector’s information on the final card, but after staring at this card for as long as I have, I doubt I’ll ever forget that D. Alexander Gregory and Jeremy Jarvis created the art for card
Details
After cutting the basic layers, I move on to the detail work. I decide to start with an easy part—the formations on the right side of the card. I have extras of this part of the art from the other three layers I’ve cut, and decide to use all three extras.
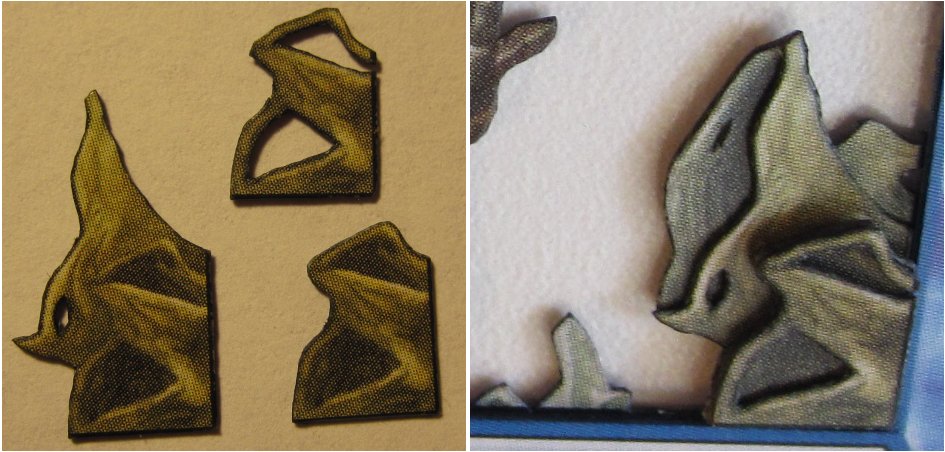
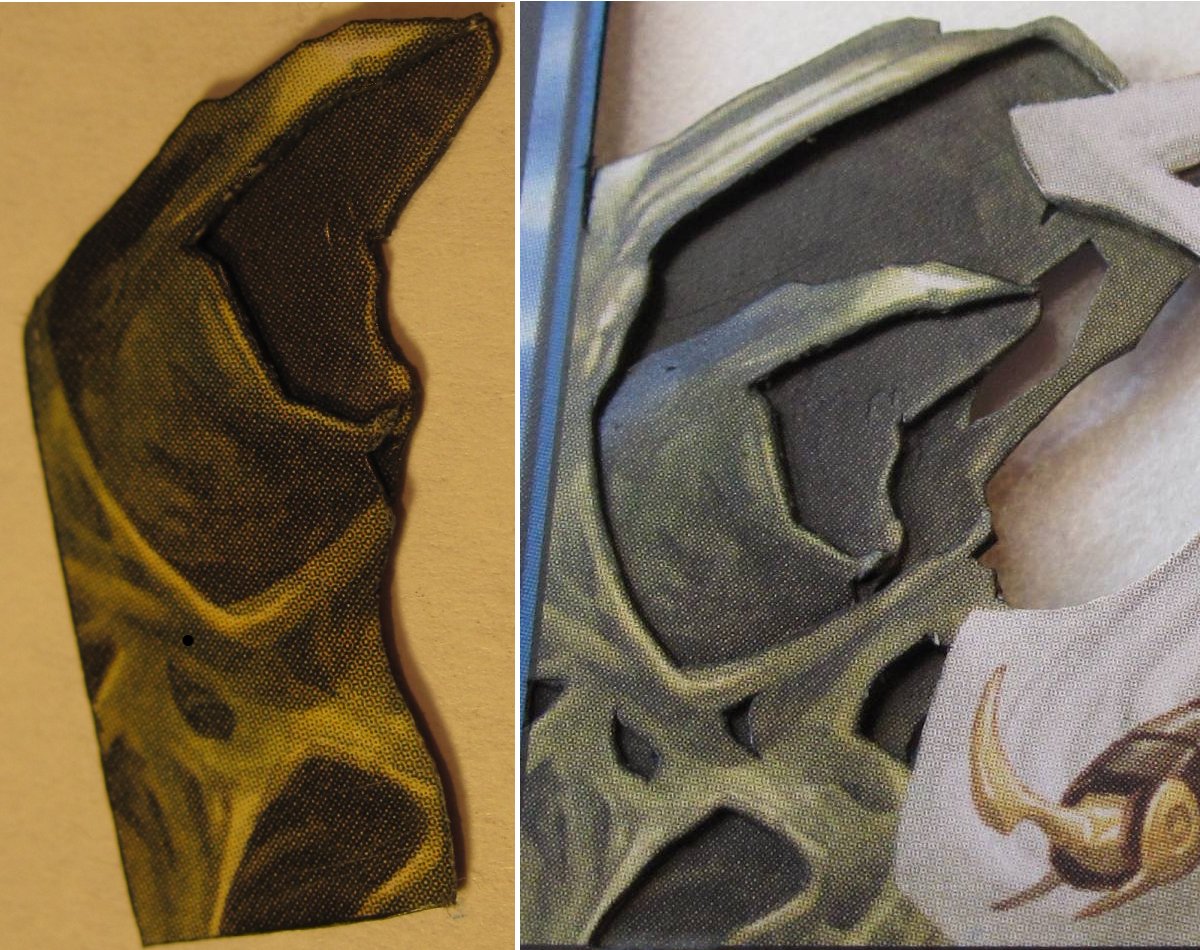
Next, I work on detailing the other formation. I decide that the furthest-forward parts of the formation can’t be easily stolen from other layers, so I cut another basic layer:
You can see in this picture that I also ended up stealing from that layer to detail part of Teferi’s arm. Next, I cut two pieces to make the “yawning mouth” formation that sticks out of the main formation. The top piece has everything but the inside of the mouth, while the bottom piece is mostly just the inside of the mouth, with just enough overlap to glue them together.
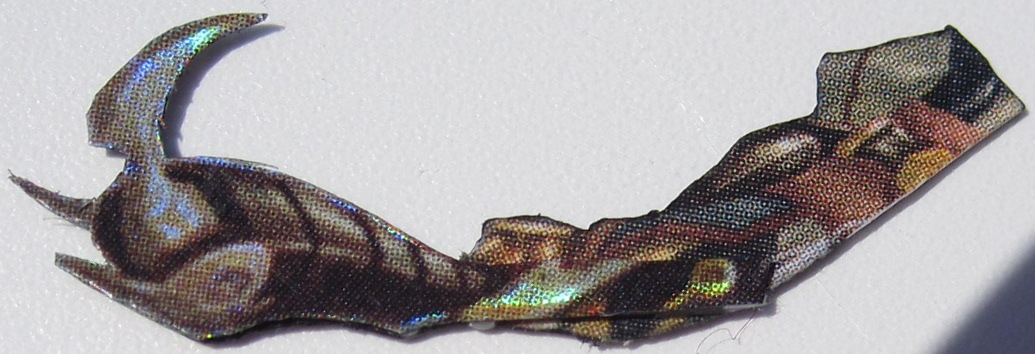
Finally, it’s time to start detailing Teferi himself. Because I want to cut up as few $5 cards as possible, I steal pieces of his arm from further-back layers, as shown in that last basic layer. For Teferi’s left arm, I use the following pieces:
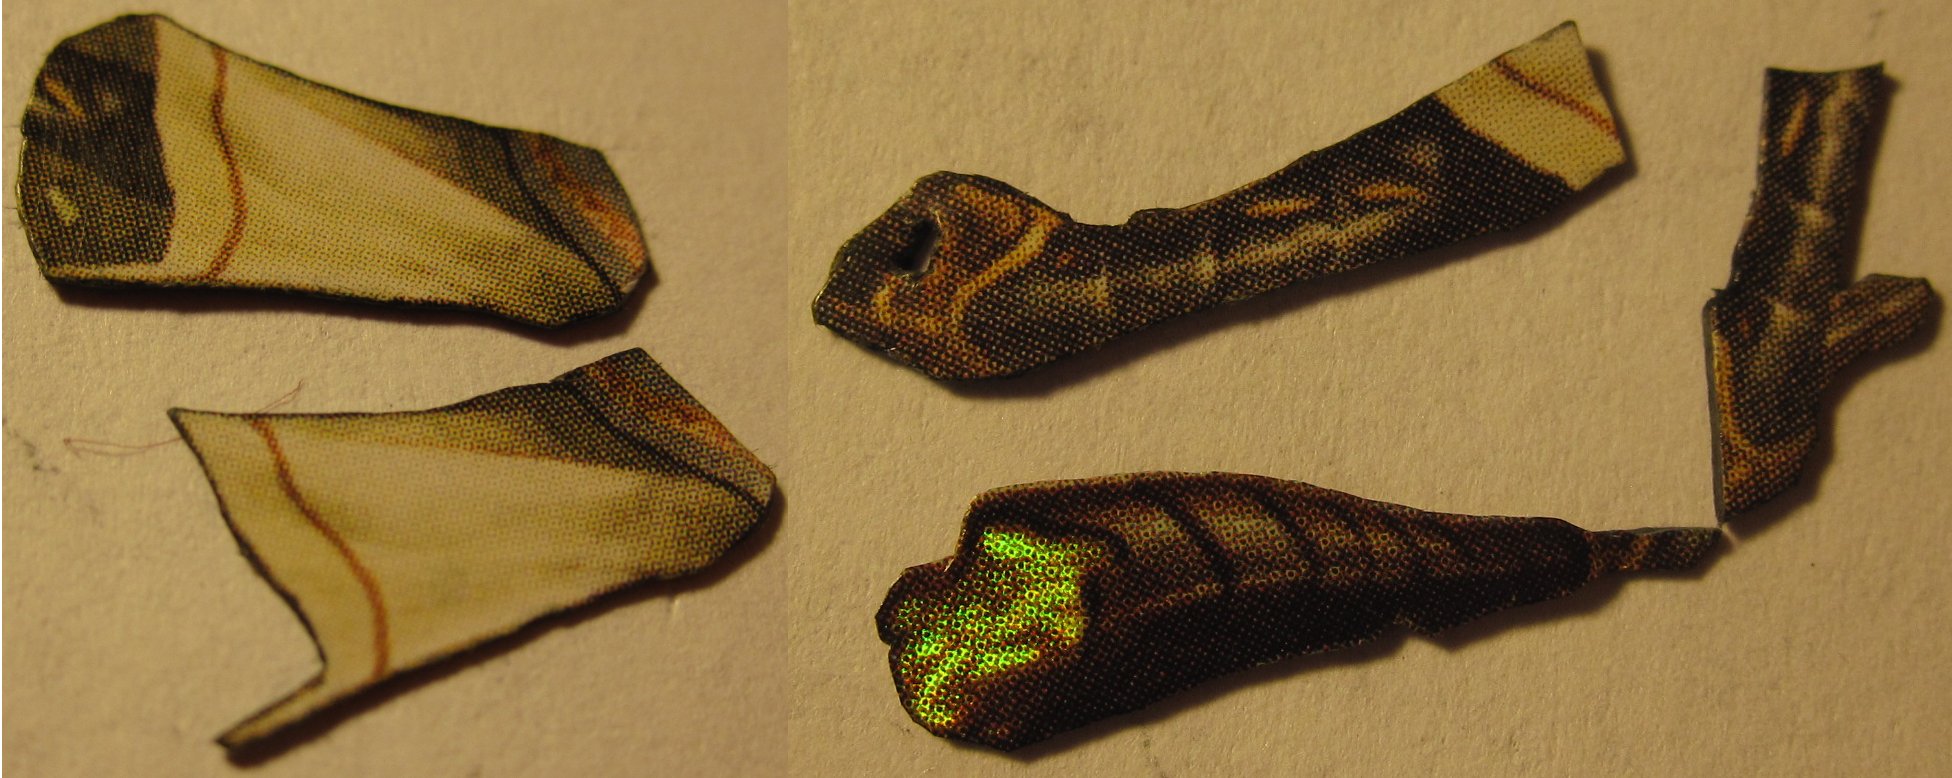
Note that the staff/wand is from the foil layer; since that part of the background will be completely covered, it won’t be missed, and I think it will look cool to have the glowing core. My goal with these pieces is to have Teferi’s sleeve come out from under the shoulder of his coat, his arm come out from inside his sleeve, and the handle of the staff to enter his hand and then stick out behind it. I need two pieces for the staff because the back end is too large to fit through the hole in his hand. Also, if I cut that from the background, the removed part of the foil would not be fully hidden.
If I just attach all these pieces together, the sleeve will be way too thick and won’t fit under the shoulder easily. I need to make them thinner, so I peel off the back of each one and shave out most of the white with the edge of a blade. Of course, as always, I finish by coloring the edges.

I use this shaving technique any time a detail layer needs to be thinner than a full card. Occasionally, I will shave off the front instead of the back in order to get the piece as thin as I possibly can, but that is very difficult to do without damaging the art.
Next I move on to the other arm. To sink it back behind the rest of his body, I first have to remove them from my main Teferi layer. I also cut out a hole in his left shoulder through which I’ll slip his completed arm.
I cut out his right sleeve, arm, and hand in one piece from the no-sky layer and glue it to his right staff from the foil layer:
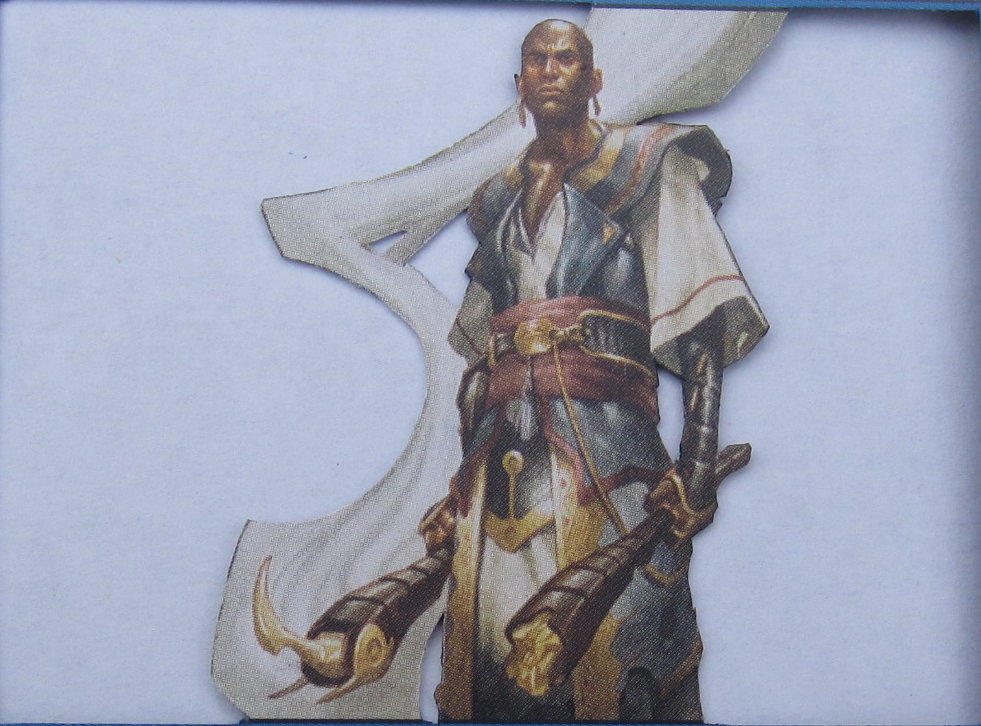
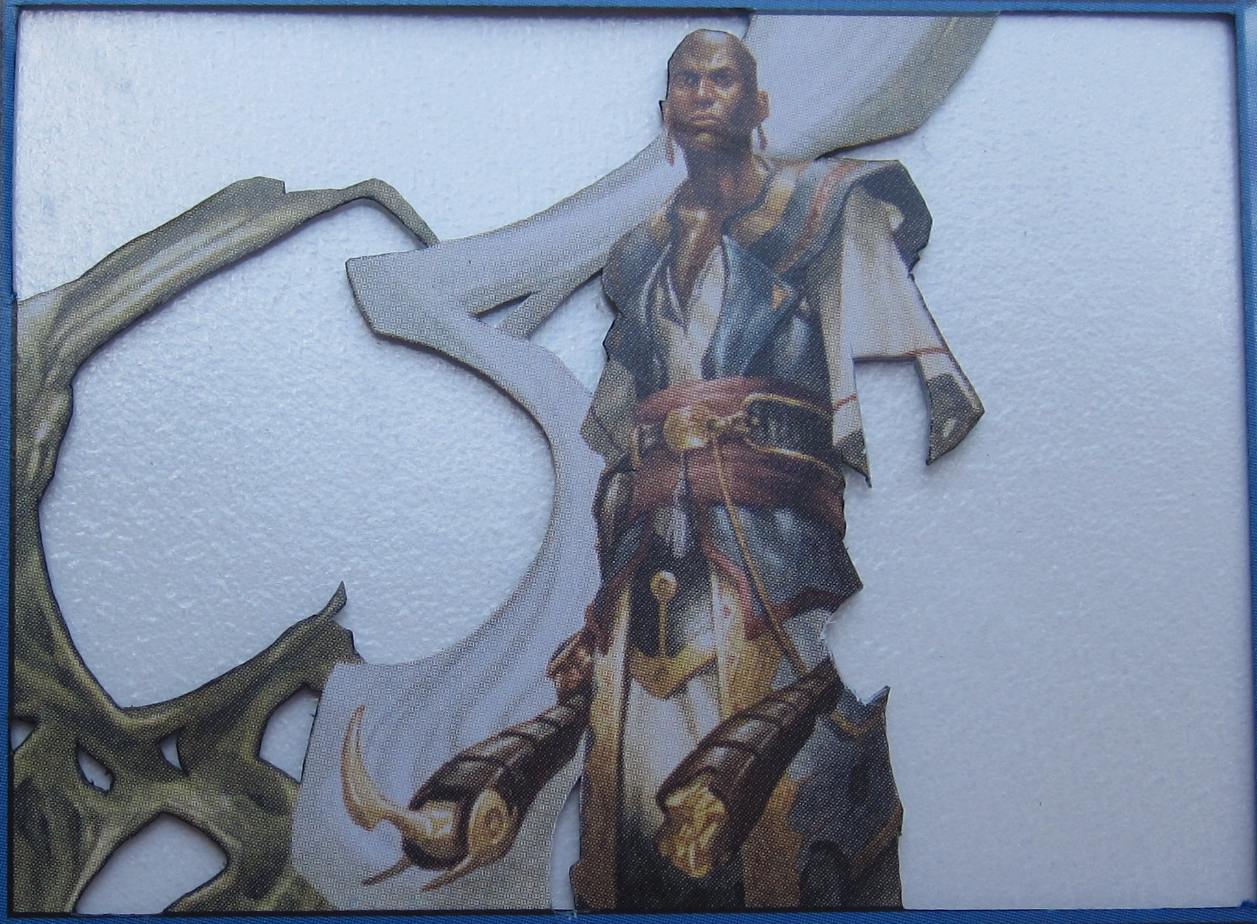
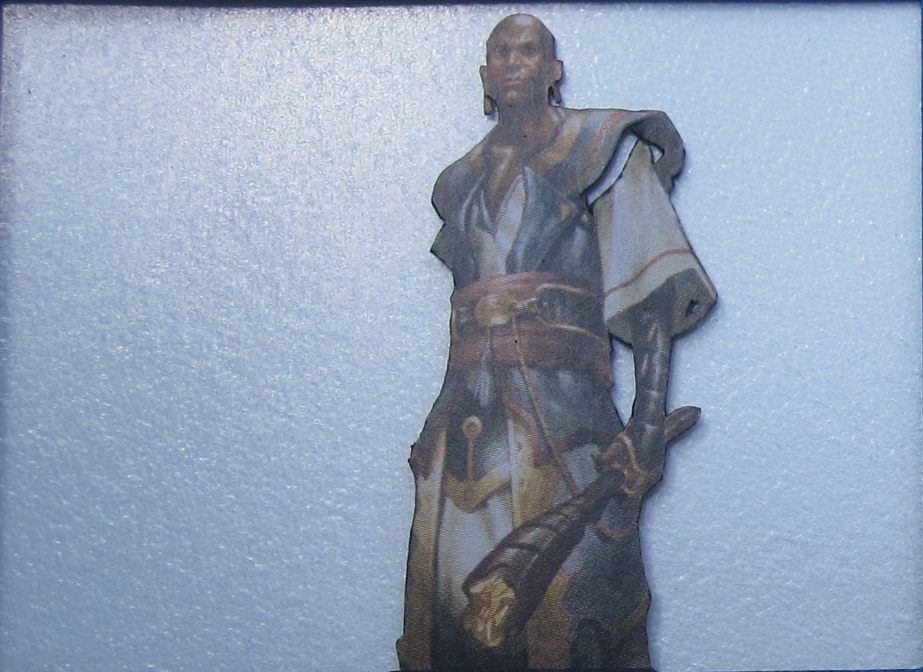
After attaching all of the detail work, Teferi’s completed body looks like this:

Finishing Up
The finished stack is like this:
| Bottom layer: | random common |
| Layer 2: | Spacer 1 with art from Foil Teferi |
| Layer 3: | Teferi with sky removed |
| Layer 4: | Spacer 2 |
| Layer 5: | Spacer 3 |
| Layer 6: | Teferi with sky and right formation removed |
| Layer 7: | Spacer 4 |
| Layer 8: | Teferi with outermost layer of left formation |
| Layer 9: | Teferi with sky and formations removed |
| Layer 10: | Spacer 5 |
| Layer 11: | Spacer 6 |
| Layer 12: | Teferi alone |
| Layer 13: | foil Hada Spy Patrol with art removed |
| Layer 14: | info boxes and black border from foil Teferi |

Okay, so I still haven’t made a 3D planeswalker card, though a local guy is in the process of collecting enough copies for me to start that. With $40 worth of cards, this is the most expensive 3D card I’ve made, but that’s nowhere near the $500 worth of cards that went into Ookubo’s 3D Balance (there’s a 3D Wasteland in that article, too).
For my next article, I thought it would be fun to let you decide what card I cut to pieces. You can choose between a few of the Legendary creatures I have on hand, or a common if you’d prefer to be able to follow along without cutting up a bunch of rares.
[poll id="21"]
In the meantime, if you’ve made a 3D card of your own recently, I’d love to see it!
Drew Sitte
AlteredCity at gmail dot com
@AlteredCity on Twitter